It’s power DIY time, folks! The holidays can be such a fun time to add personalized, handmade touches to gifts, traditions, or even décor. But, if you’re like me, your pinterest board is full of PLENTY of gorgeous inspiration but not enough motivation. I want to have homemade ornaments, and streamers, and molded pie crusts . . . and my sink is also full of dishes, there are four piles of laundry that need to be washed, but I can’t wash them until I fold and put away the three loads of laundry that I already washed . . .
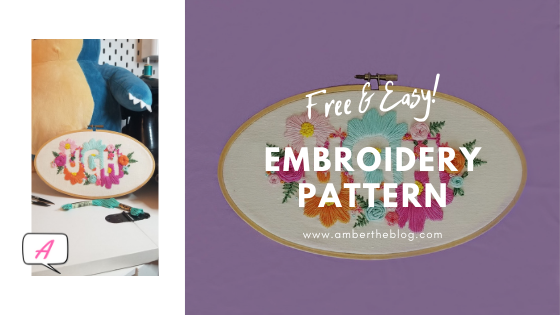
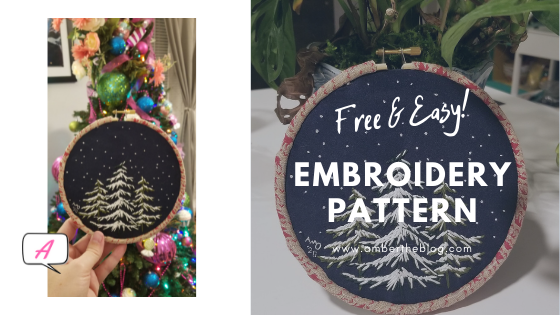
Even if you’ve never embroidered before, this pattern is easy and forgiving!
- Simply start with the two outside trees, beginning with your green 5-strand floss.
- Stitch over your green threads with your white 5-strand floss, leaving the bottom portion of the pine needles exposed.
- Stitch the center tree with your second green floss using all 5 strands, repeating the process with the snow.
- Stitch French knots wherever you want to create falling snow.
- (Optional) Trace the interior of your hoop onto your felt and cut out the circle.
- Carefully fold and tuck in the edges of your work.
- With a hot glue gun, gently run glue around the outside an inch at a time, slowly inserting your felt circle.
Ways to use this pattern:
♡ Shrink the pattern by 50% and use 3″ hoops to make giftable ornaments!
♡ Decorate a corner of a cloth napkin
♡ Use pinking sheers to cut out a fabric gift tag to decorate a wrapped present
♡ Decorate small muslin satchels and fill them with potpourri – they make great sock drawer or car accessories!
If you’re an experienced stitcher, you can customize this easily.
♡ Try using single strand thread for the pine needles, use wagon wheel or French knots to make ornaments, or sew on some fun beads or buttons for additional texture or sparkle!
This pattern is easy. It uses a few stitches and any can be substituted for something else you prefer. If you’re a stickler for sticking to a pattern, I’ve even included the DMC embroidery color numbers so you can replicate it. But if you want to get creative, I’ve got a bunch of my favorite color palettes on my pinterest board here to get you inspired for something with your own flavor! I tend to prefer complimentary colors or double split complimentary colors. Pro tip: keep a small color wheel in your purse or save an image handily on your phone to help in picking out colors. The one I usually use is this one here. It’s small and can even fit in a comfy pocket if you’re purse averse like myself.If that’s too complicated, just be sure to have my Color Palettes board pulled up on your mobile phone for easy reference.
And of course, don’t forget the free pattern! (HURRY! It’s only free until the end of 2021, and then it’s less than a cup of coffee at Staryucks. Also, I don’t like coffee.)
Did you work up this pattern? Be sure to tag me on Instagram (@ambertheblog) so I can see your lovely creations!