Posted on Leave a comment

So You Want to Sew A Kimono

I figured it’s about time I made a blog post with the resources I’ve gathered over the past two and half years. While I figure this is a very niche subject, the people that will want this will probably be very glad I did put this out there. I know I would have been grateful for it when I started this journey!

In this post, I will include traditional as well as substitutional items as well I could find. If you desperately wanted to hand sew your kimono the traditional way, I found the resources for that (and maybe went a little crazy and bought them). If you just want a traditional kimono that you can wear, and don’t mind that it was made with help from a sewing machine and supplies from your country, I’ll have resources for that, too.

I will also include resources to patterns, suppliers, and teachers that I’ve used consistently throughout these processes. I may not know the answers, but knowing where to find the answers is also a skill I’ve learned to value over the years, and being able to point you in the direction of the answers (even if I don’t know the answer myself) is something I have you appreciate and get a lot of use out of.

Why am I qualified? Well, it hardly seems like it, but by this point in my nearly three years of wasai (和裁 – Japanese sewing, as opposed to “yosai” or Western sewing) I’ve made seven kimonos for myself, one for my husband, three haori, four pairs of tabi socks to varying degrees of success, one Nagoya obi, two hanhaba obi, handfuls of emmonuki, oodles of hime, two pairs of mompe, a male haori, my own hakama, two sets of juban, more than a dozen furoshiki, my own kaishi ire (懐紙入れ), a sukiyabukuro (数寄屋袋), and a kobukusa (古帛紗) (three items for tea ceremony). Have I done all of them well? No. There’s a reason I’ve made so many kimono for myself. It takes a while before you really get a feel for the tailoring process, I’ve discovered. It’s simple . . . and also not. But I digress. I’ve been doing this a while. And while I may not be the best tailor, I am really good at documenting where I buy things. Which is really the point of this post! 😀 And since I’ve been doing this a while (and for a lot of things) YOU (and my ADHD brain) get to reap the benefit of having it logged somewhere that isn’t as easily misplaced as my sewing notebook.

Let’s start with the tools you’ll need. If you plan on using a machine (which is totally FINE BY THE WAY YOU CAN MAKE A TRADITIONAL KIMONO WITH ONE OK) you’ll need – a machine. I’ll include a few I’ve gotten my hands on and enjoyed that will carry you through, including two of mine that have lasted for years. I also recommend looking at yard sales and qualified secondhand retailers. A well maintained sewing machine or serger can have many years left at a discount.

TOOLS

Traditional/Japanese sourced:
KimonoYukiko on Etsy is an excellent resource for general wasai items.
Sewing gauge in CM.
Kakehari “third hand” clip
Kukedai desk clamp
Thread snips (I use these when I embroider and do sashiko)
Sashiko style thimble
Hand sewing needles
Hand sewing needles from KimonoYukiko
Silk hand sewing thread from KimonoYukiko
heradai (sewing, ironing and pinning surface) from MKimono
Traditional ruler
Japanese style pin cushions

Alternatives:
Alternate sewing gauge in CM.
Hot hem ruler in CM (perfect for rolling hems and doing mitered corners)
The ubiquitous tomato pin cushion
Magnetic pin caddy (trust me)
Ironing board (no link – any one you have will do)
Yardstick (any yardstick with CM)
Thread snips (these are my personal favorite but any will do)


Universal Tools (Things you’ll need whether you’re doing traditionally or not):
Sewing clips
Sewing pins
Fabric chalk or marking pens
Fabric scissors (specifically angled for tabletop or floor cutting)
Kneeling pad (if you have hard floors – TRUST ME)
Extra long tape measure
Fabric weights (optional but handy in a lot of cases when you’re not working with cotton)
Kimono hanger
A good iron (I purchased this one because it allowed me to make marks with the point like traditional Japanese irons which I can’t get my hands on – yet! It also heats quickly, evenly and is a great size for doing seams.)
NOTEBOOK – You’ll want a notebook that makes it easy to take measurements and draw diagrams. I like dot grids. You’ll also want something that lays FLAT so you can see your pages while your hands are busy. I think I could do a whole post on note books and accessories!
Erasable gel pens – please trust

Sewing Machines:
Singer C5200 – large plate is handy for the amount of fabric kimono requires
Bernette B37 (one of my favorite personal machines – excellent review here)

Resources

Kitsuke: My personal sensei, friend and all around nice human, Billy Matsunaga. Her Patreon and Instagram are also great resources. Her video below is how I learned how to start sewing kimono!

As above, KimonoYukiko is a great resource for wasai items.

MKimono is also a great resource, though they are often out of stock. Put in a request for items to be restocked to be notified. You might wait a while, but if you really want something traditional, it can be worth the wait. It’s how I got several of my items direct from Japan.

Book: How to Make Your Own Japanese Clothes

Where to Start?

Now, assuming you have the basic supplies, you first have to determine your measurements before you decide on fabric. Thankfully, my teacher, Billy Matsunaga, has a whole video dedicated to finding your kimono measurements. This will help you if you want to find secondhand kimono, new kimono, or in our case, sew your own!

Have someone help you measure if you can. Once you have your measurements done TWICE and you’ve verified that they match, you can be sure you have the correct measurements. Congratulations! You now have your kimono size! This is a true accomplishment. Now you have the information you need to start in the first video to make your own kimono. Grab a cup of tea, sit down with your notebook and erasable pens and give the first video at least two watches. Pause it. Rewind it. Ask questions until you get the answers you need – they’re in there!

I have a task list with timestamps associated with that video on making a kimono. I haven’t typed it up yet, and that would make for an entirely other post, but I think it would be helpful to some people? If this would be helpful to you, for example, collar begins at 20:22, and hems are here, etc, would you comment and let me know? I’ve hand written it out for now, but if it would be helpful, I’d hot link it for you. 🙂

FABRIC SHOPPING~!!!

Well, almost.

Yes, you get to go shopping for your first fabric! But PLEASE don’t go buying your dream fabric for your first kimono. Or you will have nightmares. Instead, go to your local thrift store and buy a bedsheet or two. I’m not kidding. I did this for my first juban (undergarment) and kimono. And I’m very glad I took Billy’s advice. I learned a lot and made a lot of mistakes for very little monetary investment.

Once you get to a point where you’re ready to invest, here are a few places I shop. I almost never buy fabric on Amazon. I have rarely heard good things.

Fabric Mart Fabrics – My blue kimono fabric is from here!
JoAnn’s – oh dear I spend way too much here
Mood Fabrics – designer fabrics
Etsy – I have had many successes here from many different sellers!

Let’s talk FIBER. My first juban was from some old polyester (yes, POLYESTER) bedsheets I found at Goodwill with FLAMINGOS on them. It is amazing. Possibly poly-cotton because of how it sticks to cotton, but it is definitely poly because of how it smells when ironed. My second haori I thought to work with was 100% polyester, and I was not ready for that slippery challenge as a new seamstress. From then on, I worked with cotton for my next several kimono, and it was perfect for me to learn on. If you’re starting out, definitely try cotton. It’s cheaper, for starters, and way more forgiving. It’s easier to iron and tell it what to do than other fibers. It’s easily washed and cared for, and it comes in so many fun prints and colors! Until you’re confident you’ve discovered the measurements and skill of making a kimono that fits you, I highly recommend sticking to cotton.

Just Try

You’ve got your supplies, measurements, and fabric – now all you have to do is work up the gumption to start. To be honest, I sat on some fabric for over a year – a YEAR before I told myself to try. I admittedly still have a serger sitting in my craft room that I haven’t touched because it intimidates me. But this is the year I fix that.

Here are some playlists I like to listen to while I work that may ease you into the kimono making mood.

80’s Japanese
80’s Japanese City Pop
Greatest Ghibli Music
Genshin Concert 2021

I’ll be updating this post as I find more resources that I think will aid you – and I’ll let you know if I ever figure out that serger. 😉 Until then, happy kimono making!

"XOXO, Amber" in hand-styled script
Posted on 2 Comments

The AMAZING Skin Solution that takes LESS than Five Minutes

You may have seen my recent video on my instagram, but just in case, I’ll make sure I share it below. In the video, I do a (sped up) version of my nightly routine. While I recorded it, including extra time spent showing off the products, it was actually UNDER five minutes, and that included removing my makeup! WOW! I was absolutely amazed.

This post may contain affiliate links. For more on that, check here.

Products Used:

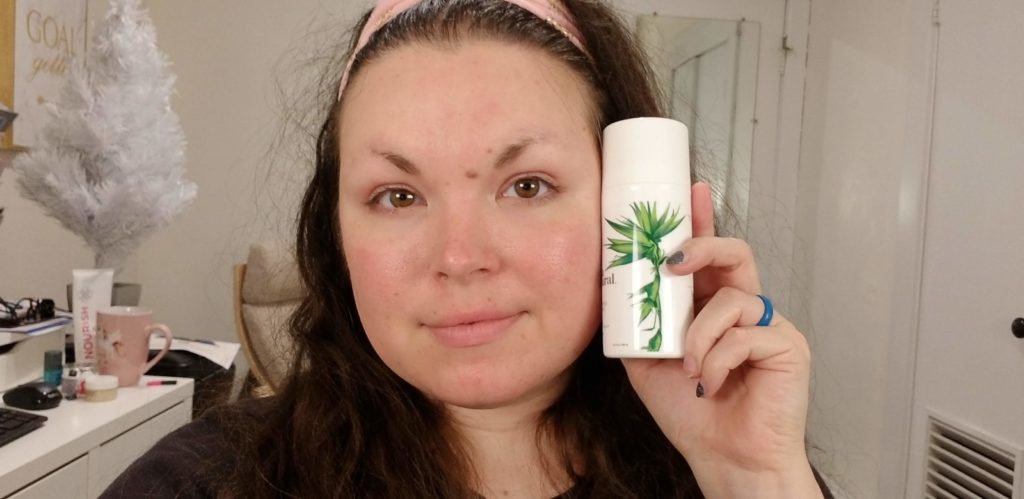
  1. Facial Cleanser by Instanatural – use the cleanser as directed. If you need a little extra makeup removing power, add a little extra virgin olive oil in with your cleanser. (TRUST me!!!) Wash away!
  2. Toner – Vitamin C by Instanatural – depending on the toner, the directions may differ, but generally, you want to shake the product, dispense into either your palms or on a cotton round, and pat it gently onto the face. Toner is so important to your facial routine. But it won’t give you the benefits if you don’t have the right product (avoid alcohol at all costs!) and don’t use it at the right step. Toner is done after cleansing to adjust the PH balance of skin back to where it should be. This allows the products you’re about to put on your face to actually do the work they are supposed to. If your toner makes your skin feel “tight,” most likely, it is just a drying agent and not a balancing one, and that is a HUGE NO NO!
  3. Serum – Vitamin C by Instanatural – the serum is the powerhouse of your nightly routine. It is the agent that delivers the compact, concentrated nutrients that help your skin. I love the vitamin C serum because how it helped reduce my redness and in general, evens my skin tone! You might want a different serum depending on your skin goals and needs, but if you’re new to skincare, you can’t go wrong with this one! (And the smell is simply YUMMY!)
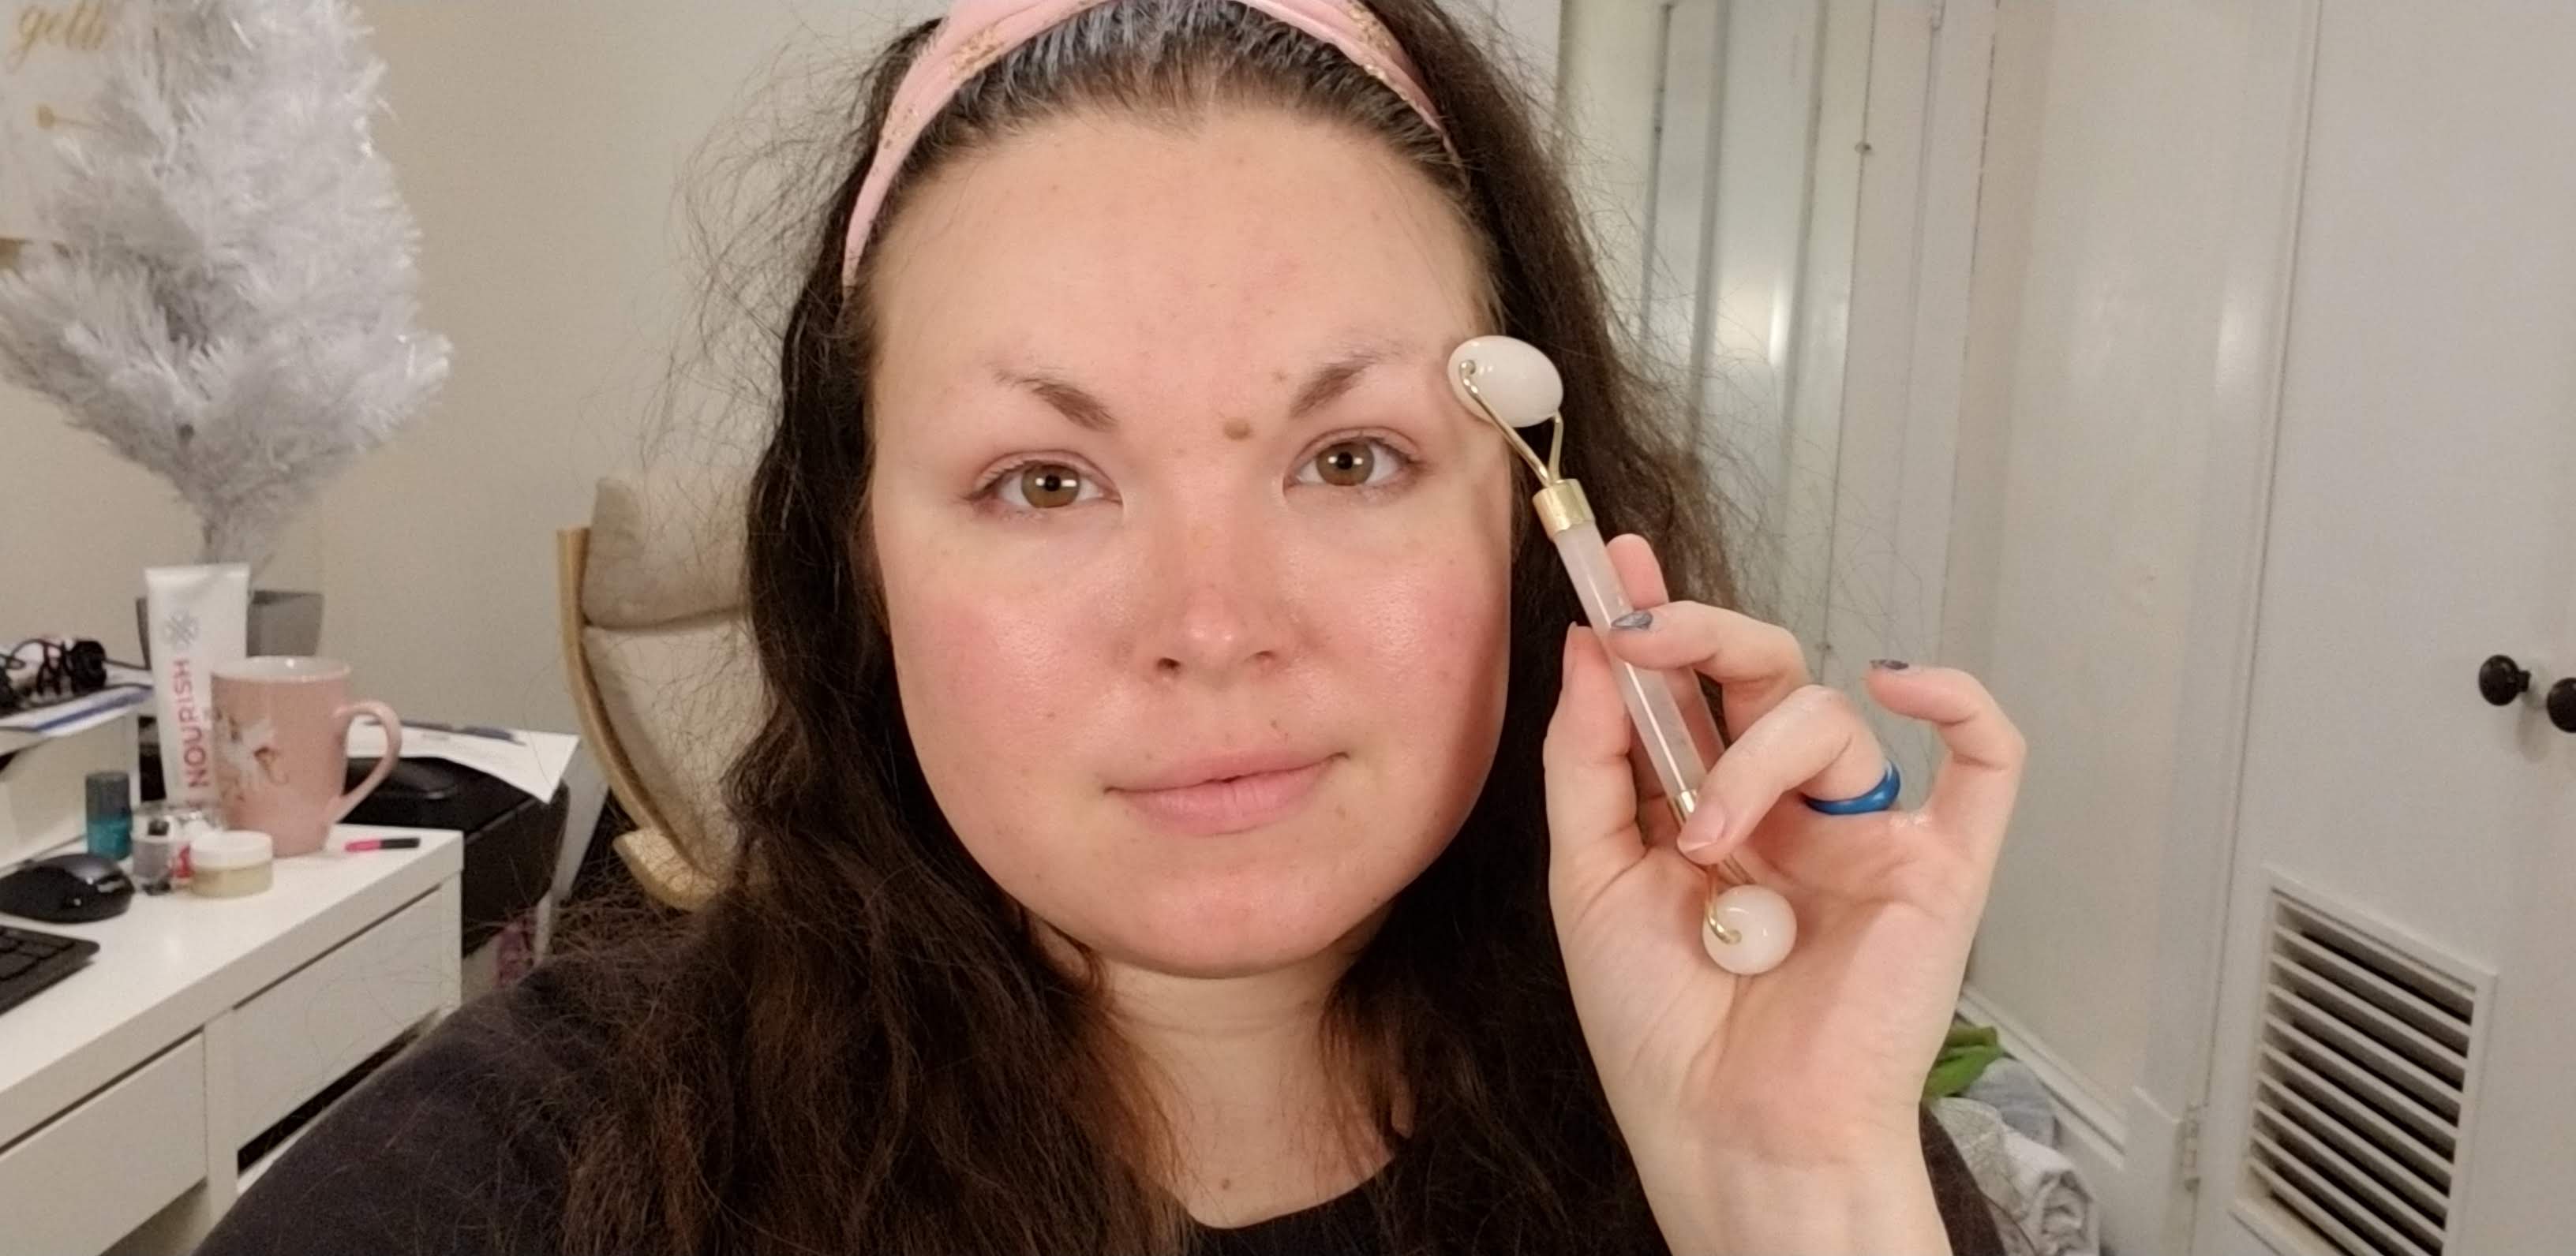
  4. Roller by Witty – I love using my roller! Not only does it just feel awesome, but it also helps me save money! Seriously. I can get away with just a few DROPS of my serum when I use my roller because none of it gets soaked into my fingertips! (To be fair, in the video, I use more because instagram.) It is also great for helping with cystic acne. Pop that baby in the fridge and apply it to any inflamed areas to reduce swelling. It also works great for reducing morning puffiness.
  5. Night cream by Instanatural – after you’ve applied your serums, the cream is going to be the protective layer that keeps your skin hydrated and helps you to absorb the nutrients from the serums while you sleep. I had the pleasure of being taught how to give yourself a spa facial by a premier aesthetician, and it makes such a difference. I’ll be able to do a video on that later, but for now, when you apply lotion, only dispense it on your fingertips. Your fingertips absorb product the least, which means it will last longer and most of it will go on your face where it belongs. Tap your fingers together until you have an even amount on each fingertip (sans thumbs). Then, gently tap the product all over your face until it is evenly absorbed. It helps to stimulate circulation as well as prevents aging by eliminating unnecessary tugging. Plus, it just feels nice!

I’ve been using Instanatural since 2017 when a friend introduced it to me (Thanks, Savannah!). It’s made in Orlando, and I admit, this FL girl loves that! (Plus, I feel like it’s genuine Florida citrus in these products!) The products are clean, not tested on animals, and actually work.

No filter, no editing, just my face, half brows and all!

If you’re wondering if these will work for your skin, I’ll share what skin hurdles I have and how these have helped. First, my skin is combination. I have patches that are usually oily and patches that are sometimes dry. I also have random breakout (usually coinciding with my cycle) and have hyper-pigmentation, where the skin is perpetually red after a breakout in the past. Even though I have rarely broken out since high school, my skin retains the redness of each one for months, sometimes years! I also have sensitive skin that gets easily irritated and inflamed. I have the best experience with my skin when I regularly do this nightly routine. During the day, I also use Instanatural day cream and sunscreen if it is in the summertime. I exfoliate as needed, which is usually every 1 – 2 weeks. Also, I have found that drinking lots of water makes a big difference, too!

So tell me – what works for your skin? What products do you love? Try this easy nightly routine; I’d love to hear your results!

Posted on Leave a comment

FREE Instagram Training – Top 15 Tips: Part 2

Did you miss Part 1? Click the link to read the first six tips! 


In the first post of this series, I discussed the first 6 of 15 tips to grow your instagram. Let’s jump right into the next five! 

7. Engage your niche

Get to know your audience and other content creators in your niche. You probably already know you should do that, but how, exactly? Start by going into the hashtags of your posts and find other creators. Comment! Ask questions! It is best to spend five minutes a day getting to know other people. Are you a makeup blogger who admires someone artwork? Send them a message and ask if you can do a makeup look inspired by their creation! It is always flattering to see your content inspire someone else to create something more (But remember, ALWAYS ask permission and ALWAYS credit appropriately). By getting to know your community in the daily interactions, you will naturally thrive and grow organically. 


ALWAYS ask permission and ALWAYS credit appropriately.

8. Interact with your audience

When you post, try asking your audience an open-ended question. (For a quick refresher, an open-ended question cannot be answer by “yes” or “no.”) Simple posts asking “Which is your fave? A or B?” or “Using one word, describe your day!” are effective because they require very little feedback from your followers. One word or simple answers are best for the casual follower. Be sure to reply and like every answer you receive on any of your posts. Your followers and their interaction are golden, so treat them like royalty! 

9. Utilize Videos

Using video on instagram is a great way to increase engagement. It also allows your viewers to see a different side to you. I can’t give you advice on what to post in your videos, but I can tell you how to spiffy it up! First of all, youtube is a great resource for learning how to edit. My current favorite video app is InShot. For a few dollars, you can purchase the pro version and access many more features and eliminate their watermark from any saved files. If you have any specific questions about videos, ask in the comments and I’ll do my best to answer. 

10. Add to your Story

Since the change a few updates ago, Instagram has jumped into the story-like format, mimicking the very popular Snapchat. Since this addition, almost all of the accounts I follow utilize this feature. It’s a great way to let people into things like “behind the scenes,” “a day in the life of,” and offer teasers for upcoming content. You can make announcements for your blog, go live for a demo . . . the sky is the limit! This is a great place to let loose and have fun. Unless your instagram is only about being comical or sarcastic, be consistent to a theme and keep your feed in accordance with your theme. In your Story, however, you can be whatever you want! 

11. Use the available Tools

There are a lot of apps out there that are helpful to someone who really wants to take their instagram to the next level. In my upcoming Instagram Training, I’ll be taking you through a deep-dive of my favorites with live demos and more. But here, I want to focus on just a few. (Keep in mind that I have an Android phone, but most apps available for Android are also for iphone as well.) 

For quick reference for hashtags, try a hashtag app! Hashme, All-Hashtag, and Display Purposes are all great places to start. Sometimes, you will get suggestions that are completely useless. That’s the downfall to automatic algorithms. But what they lack in perfection, they make up in ease. Simply weed out the ones you won’t use, copy, and (here’s the magic) paste it into your notepad app. That way, you don’t have to keep waiting and weeding out results. You can just copy and paste at the end of your post! Be sure to check the relevancy of your hashtags at least once a month and update your notepad “cheat sheet.” 

That’s it for this post! Subscribe for part 3, the conclusion. If you want to dig deeper with direct mentorship, post prompts, photography tips, and more, then be sure to join my Facebook group to take advantage of my FREE training course!

Ciao! 

Posted on 2 Comments

FREE Instagram Training – Top 15 Tips for Growth

Do you want to grow your instagram community? Have you struggled with gaining traction or knowing what to post or when? Then you are in the right place! In the post, I will share my top 15 tips for growing your influence on instagram. And if you want to dig deeper with direct mentorship, post prompts, photography tips, and more, then be sure to join my Facebook group to take advantage of my FREE training course! No email list sign up, no gimmicks or hidden fees, just me showing you what I do!

Top 15 Instagram Tips – Part 1

One: Be consistent
Whatever this means for you (once a week, once a day, morning, noon, and night), keep it consistent. Consistent content is going to improve your ability to be seen within Instagram’s algorithms.  While I won’t get into teaching the algorithms in this post (that will be in my upcoming free training ), I will recommend you post at least once a day!

Two: Utilize all your hashtag realty
If you were to pay for an ad in printed media, you would be granted so many words. A wise advertiser would work his thoughts into concise, action-oriented directions and use every single word available. So why not use all of your advertising space in hashtags? Not using all of your hashtags is like stopping at offering your name in an introduction.  You get THIRTY hashtags! You should use as much of those as you possibly can, and no less than twenty every post. Need ideas for helpful hashtags? Feel free to follow me (instagram.com/ambertheblog) and steal my hashtags, join my group for the free training, or study some of your favorite “grammers” for inspiration. You get free advertising. Be sure to use those hashtags!

Not using all of your hashtags is like stopping at offering your name in an introduction.

Three: Post your hashtags with your image
You’ve probably seen two types of grammers (that’s the term for people who use the gram, aka instagram). There are those who post their content and hashtags together, and those who post their hashtags in a comment. You can do it either way, but the most effective way to be at the top of the hashtag feed (which is how others will find your content) is to post your tags along with your image. The delay between adding the tags in the comments can be the difference between someone seeing your content or seeing what others have posted!


Four: Offer value
The number one mistake people can make is to use instagram as a marketing tool.  Instagram c an be and is a very powerful marketing platform, but it is not by actively marketing that you build a community. Consumers look for products. Communities look for service. A product is the same whether you get it on Amazon, in Wal-mart, or Target. Where do you buy it? What drives your loyalty? The service. The dictionary defines service as the following:

1. the action of helping or doing work for someone.
synonyms: favorkindness, good turn, helping hand;

Wow! That is definitely different than simply marketing a product. What do you offer your community? Position your service, not your products.

Consumers look for products. Communities look for service.

Five: Practice your photography
There’s no getting around it – instagram is a visual community! If you want to get attention, you need to up your photography game. As a retired wedding photographer, I can definitely write way too much on the subject! While I plan on getting more involved and doing a photography workshop during my instagram training, I will keep this portion here brief.

Remember the phrase “shoot in the shade.” Direct lighting is going to be the harshest to view and hardest to correct. Look for shade and indirect lighting or shoot on an overcast day. This is going to get you the softest shadows and the most flattering lighting for just about everything!

Utilize your camera’s brain. Unless you’ve done training on using a camera in manual mode, learning what auto settings are available are going to be your best tool. I specifically purchased my Samsung Note 8 because I liked the options it had as a camera. Get to know everything about your camera and you will inherently learn how to take better photos!

Use apps to improve your photos before uploading. I suggest Facetune, Pixlr Express, Handy Photo, and PicsArt. I’ll show you how to use them in detail in my training! Facetune is great for polishing up portraits, while I use Pixlr for cropping, adding text, and basic color correction. I use Handy Photo for the amazing magic crop feature, as well as making my backgrounds have that studio feel. Seriously, this app has so much power! It’s like Photoshop on my phone. Try them out!

Six: Eliminate ghost followers
While it might really stink to intentionally make your follower count go down, it is actually imperative to building an engaged, organic community. Plants need pruning to grow to their best potential. Your community is the same way. Spam account, ghost followers, or automated accounts that never engage with you are actually harmful to your engagement percentages, which ultimately tells instagram that your content isn’t that interesting to your followers. And then it decides that it won’t be that interesting to new people, too! Yikes! Culling disengaged followers is an imperative step to keeping your community to members who enjoy in what you have to offer.

That’s it for part one of my Fifteen Tips for Instragram Growth! Be sure to subscribe for part two and three, and join my facebook group for the free intensive training to make your instagram rock!