Hey, you. Yeah, you. Want a free pattern that helps you get through the last sprint of 2020? Do you want to encapsulate the inner roar of frustration this year has thrust upon you within the confines of 9″ oblong hoop? Want to repeatedly stab something and end up with a beautiful yet hilariously pithy piece of work you made with your own hands instead of an arrest warrant and a lot of questionable cleanup?
Well, hello, friend. You’ve come to the right place.
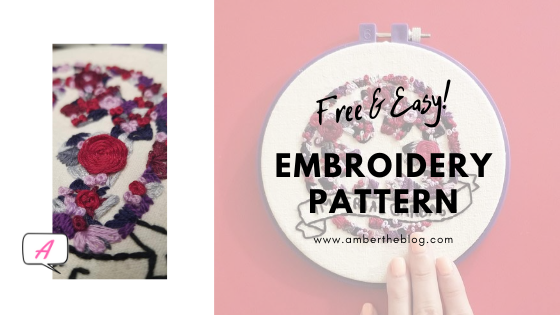
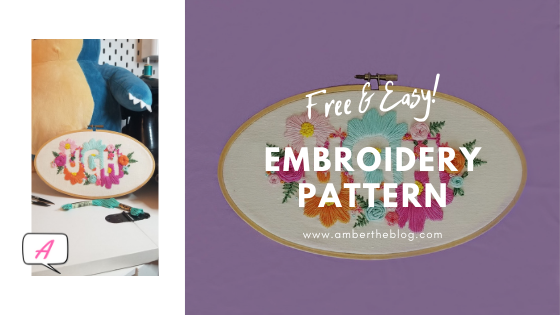
Hello, all! I’m back with another fun, beginner friendly embroidery pattern that is floral, fun, and JUST DANG NECESSESARY FOR THIS YEAR, OKAY.
It’s for beginners or experienced stitchers.
Just starting out? No problem! Just take the embroidery floss as is, thread it through your needle, and start stitching. I recommend a booklet of basic stitches kept handy or a youtube video, just in case. (I’ll also be writing up a post with basic stitches, video demos, and more so be sure to subscribe!) This pattern also adds in something a bit more challenging if your beginner, but only one! (You can do it!) It’s a bullion knot, and it’s a really fun way to add texture. Having this stitch in your repertoire will give you more options to make things unique to your creative vision.
If you are an advanced stitcher, feel free to add long and short stiches to make
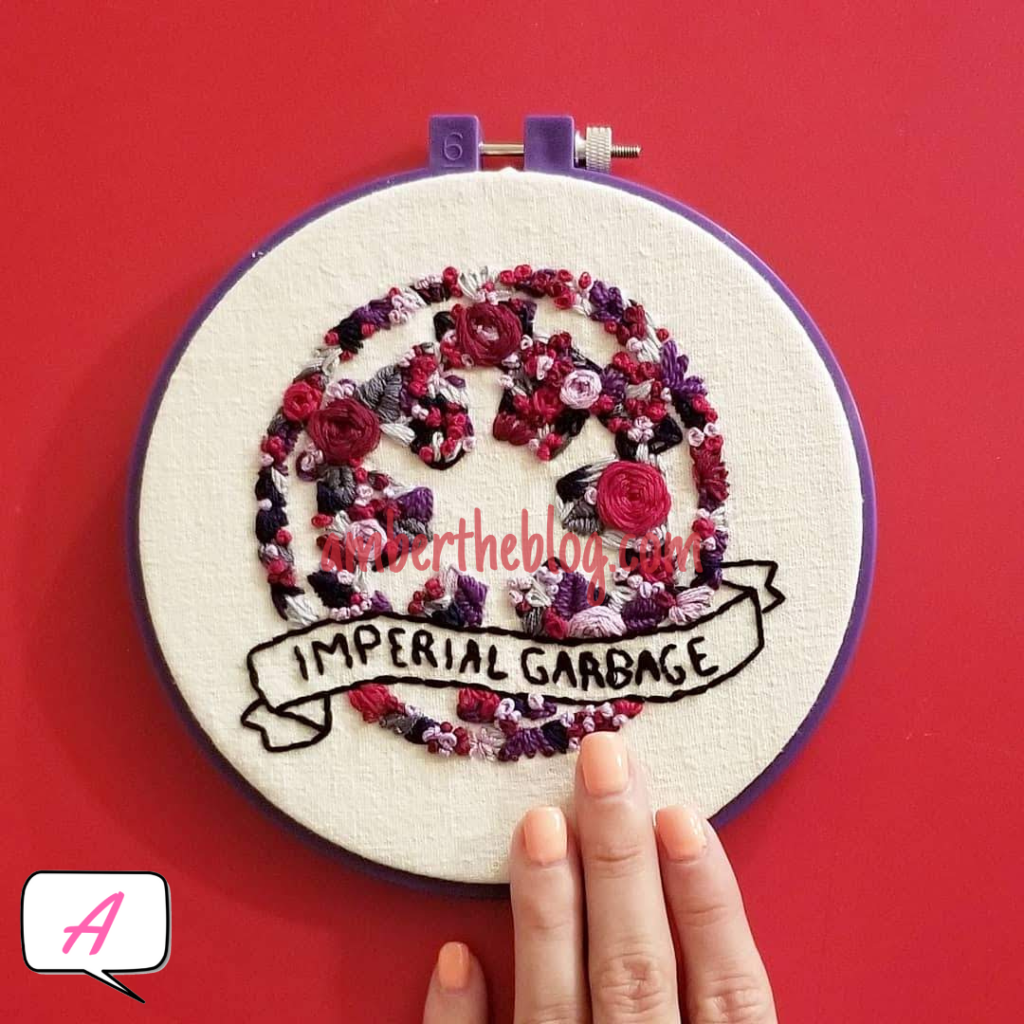
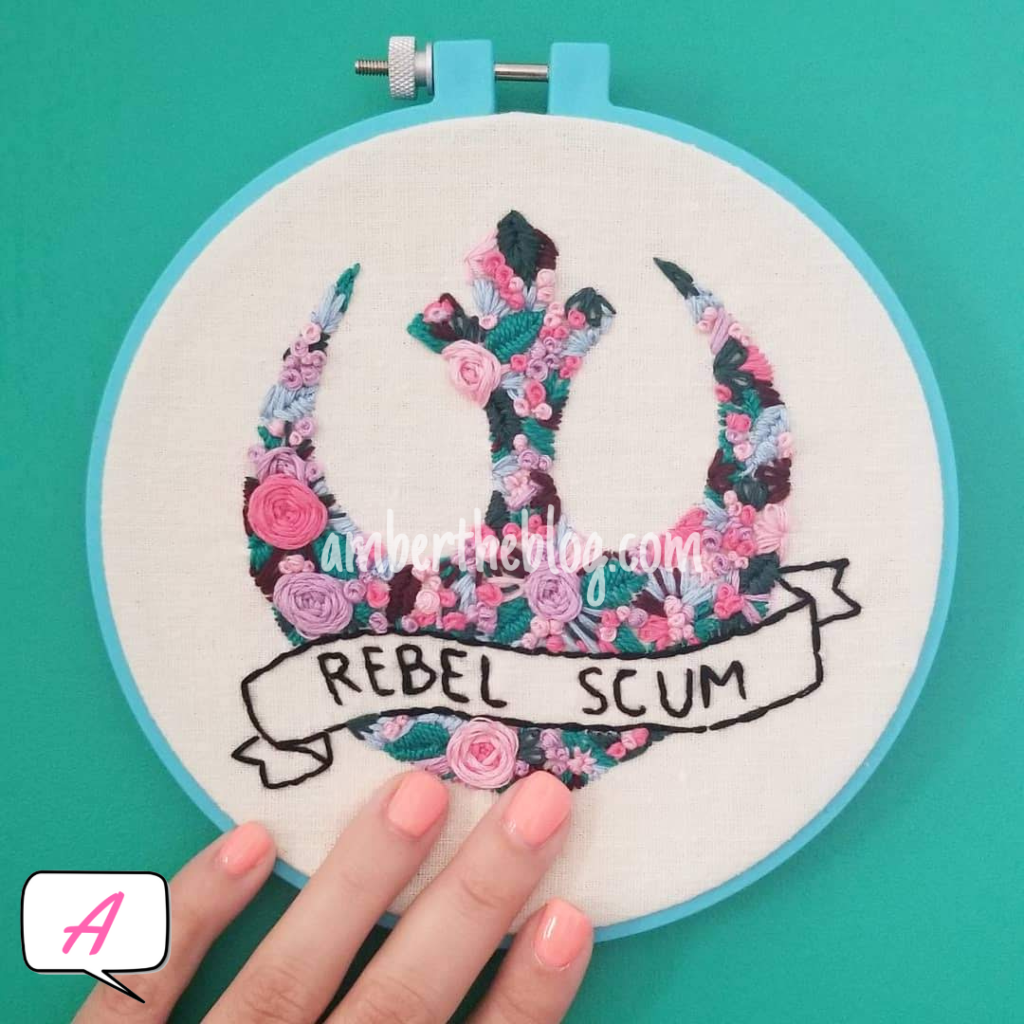
In the example above, I’ve used the following stitches, all with 6-strand floss:
- Wagon wheel
- Daisy chain
- French knot
- Straight
- Bullion knot
This pattern is easy. It uses a few stitches and any can be substituted for something else you prefer. If you’re a stickler for sticking to a pattern, I’ve even included the DMC embroidery color numbers so you can replicate it. But if you want to get creative, I’ve got a bunch of my favorite color palettes on my pinterest board here to get you inspired for something with your own flavor! I tend to prefer complimentary colors or double split complimentary colors. Pro tip: keep a small color wheel in your purse or save an image handily on your phone to help in picking out colors. The one I usually use is this one here. It’s small and can even fit in a comfy pocket if you’re purse averse like myself.

If that’s too complicated, just be sure to have my Color Palettes board pulled up on your mobile phone for easy reference.
How to use it
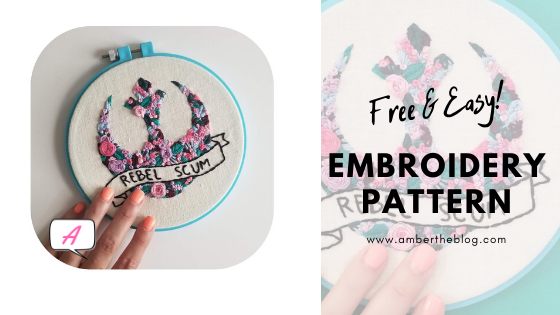
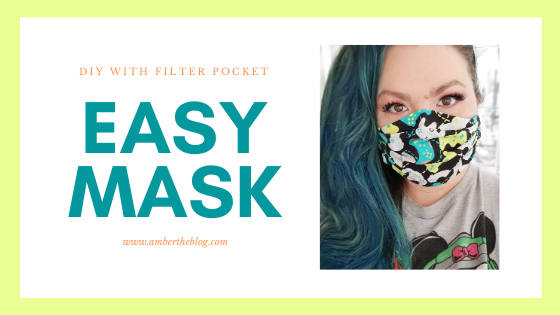
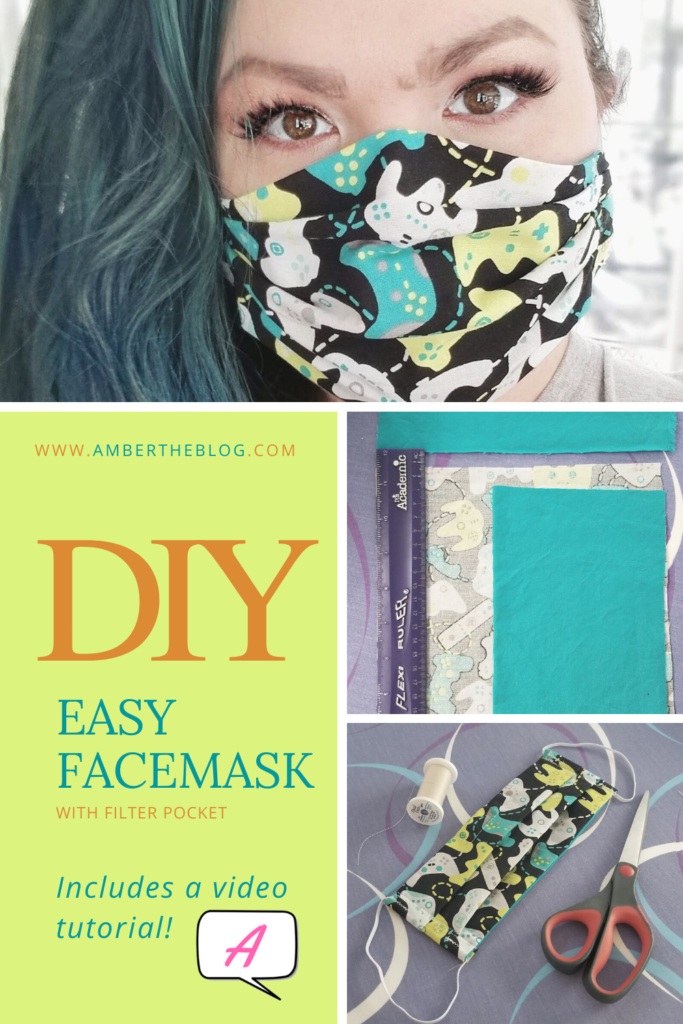
You can put this pattern on pretty much anything! Enlarge it and put it on a throw pillow. Shrink it down and put it on a shirt pocket or handkerchief. Decorate the front of an apron or a tea towel for a perfect gift. You could even decorate your most comfortable reusable mask, like Carissa did with the Rebel pattern. (SO CUTE!)
What you need
First things first, you’re going to want an embroidery hoop. I prefer bright, happy colorful hoops! I never know what sort of project I’m going to be into next, so having a variety of sizes and colors let’s my imagination run wild. I like this set of hoops for the variety of color and sizes.

You’ll also love yourself for making your life so much easier with a needle minder. A needle minder is a small magnetic tool that attaches to your work, giving you a secure and visible place to put your needle while in the middle of stitching. No more dropped thread! No more missing needle! And, more importantly, no more finding it with an unfortunate part of your body.

Another lifesaver is Thread Magic. Thread Magic is a thread conditioner that helps eliminate static, lessens tangles or knots, and reduces drag to make your work go by much faster. It’s a huge boost to my projects and has definitely improved my emotional state while working. (Have you ever been foiled – repeatedly – by your thread insisting on bunching itself up into incurable knots??? It’s not healthy for your heart.) I can usually find Thread Magic at my local craft store, such as Michael’s, Hobby Lobby, or Jo-Ann’s. But if it is out of stock or hard to find, I’ve got a handy link for you right here.

Aside from those quality of life improvements, you’ll also require the following:
- embroidery needles
- 6-strand floss (DMC is my favorite)
- fabric marking pen
- pin cushion/needle sharpener (you could get the tomato, but WHY when you can get this ADORABLE hedgehog???)
- scissors
- fabric
- gentle detergent
(Your fabric choice is really up to you! I usually go to the thrift stores and craft stores and peruse the remnants. You’ll want to wash whatever your fabric is before you start. That way, if the fabric decides to warp after you hand wash your embroidery, your hard work won’t be distorted. I like Mrs. Meyers because it’s gentle, perfect for my allergies, and doesn’t abuse my skin when I hand wash! Plus, it smells AMAZING.)
And of course, don’t forget the free pattern!
Did you work up this pattern? Be sure to tag me on Instagram so I can see your lovely creations!