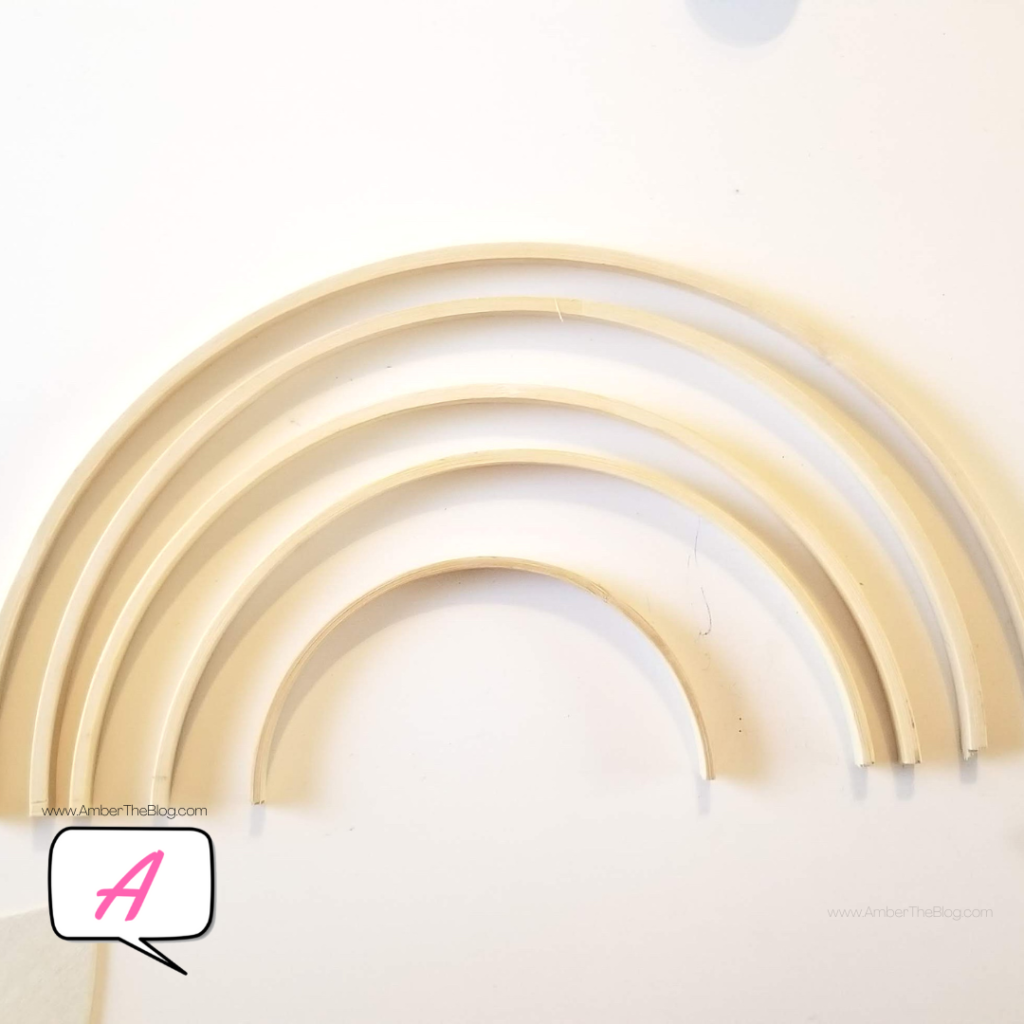
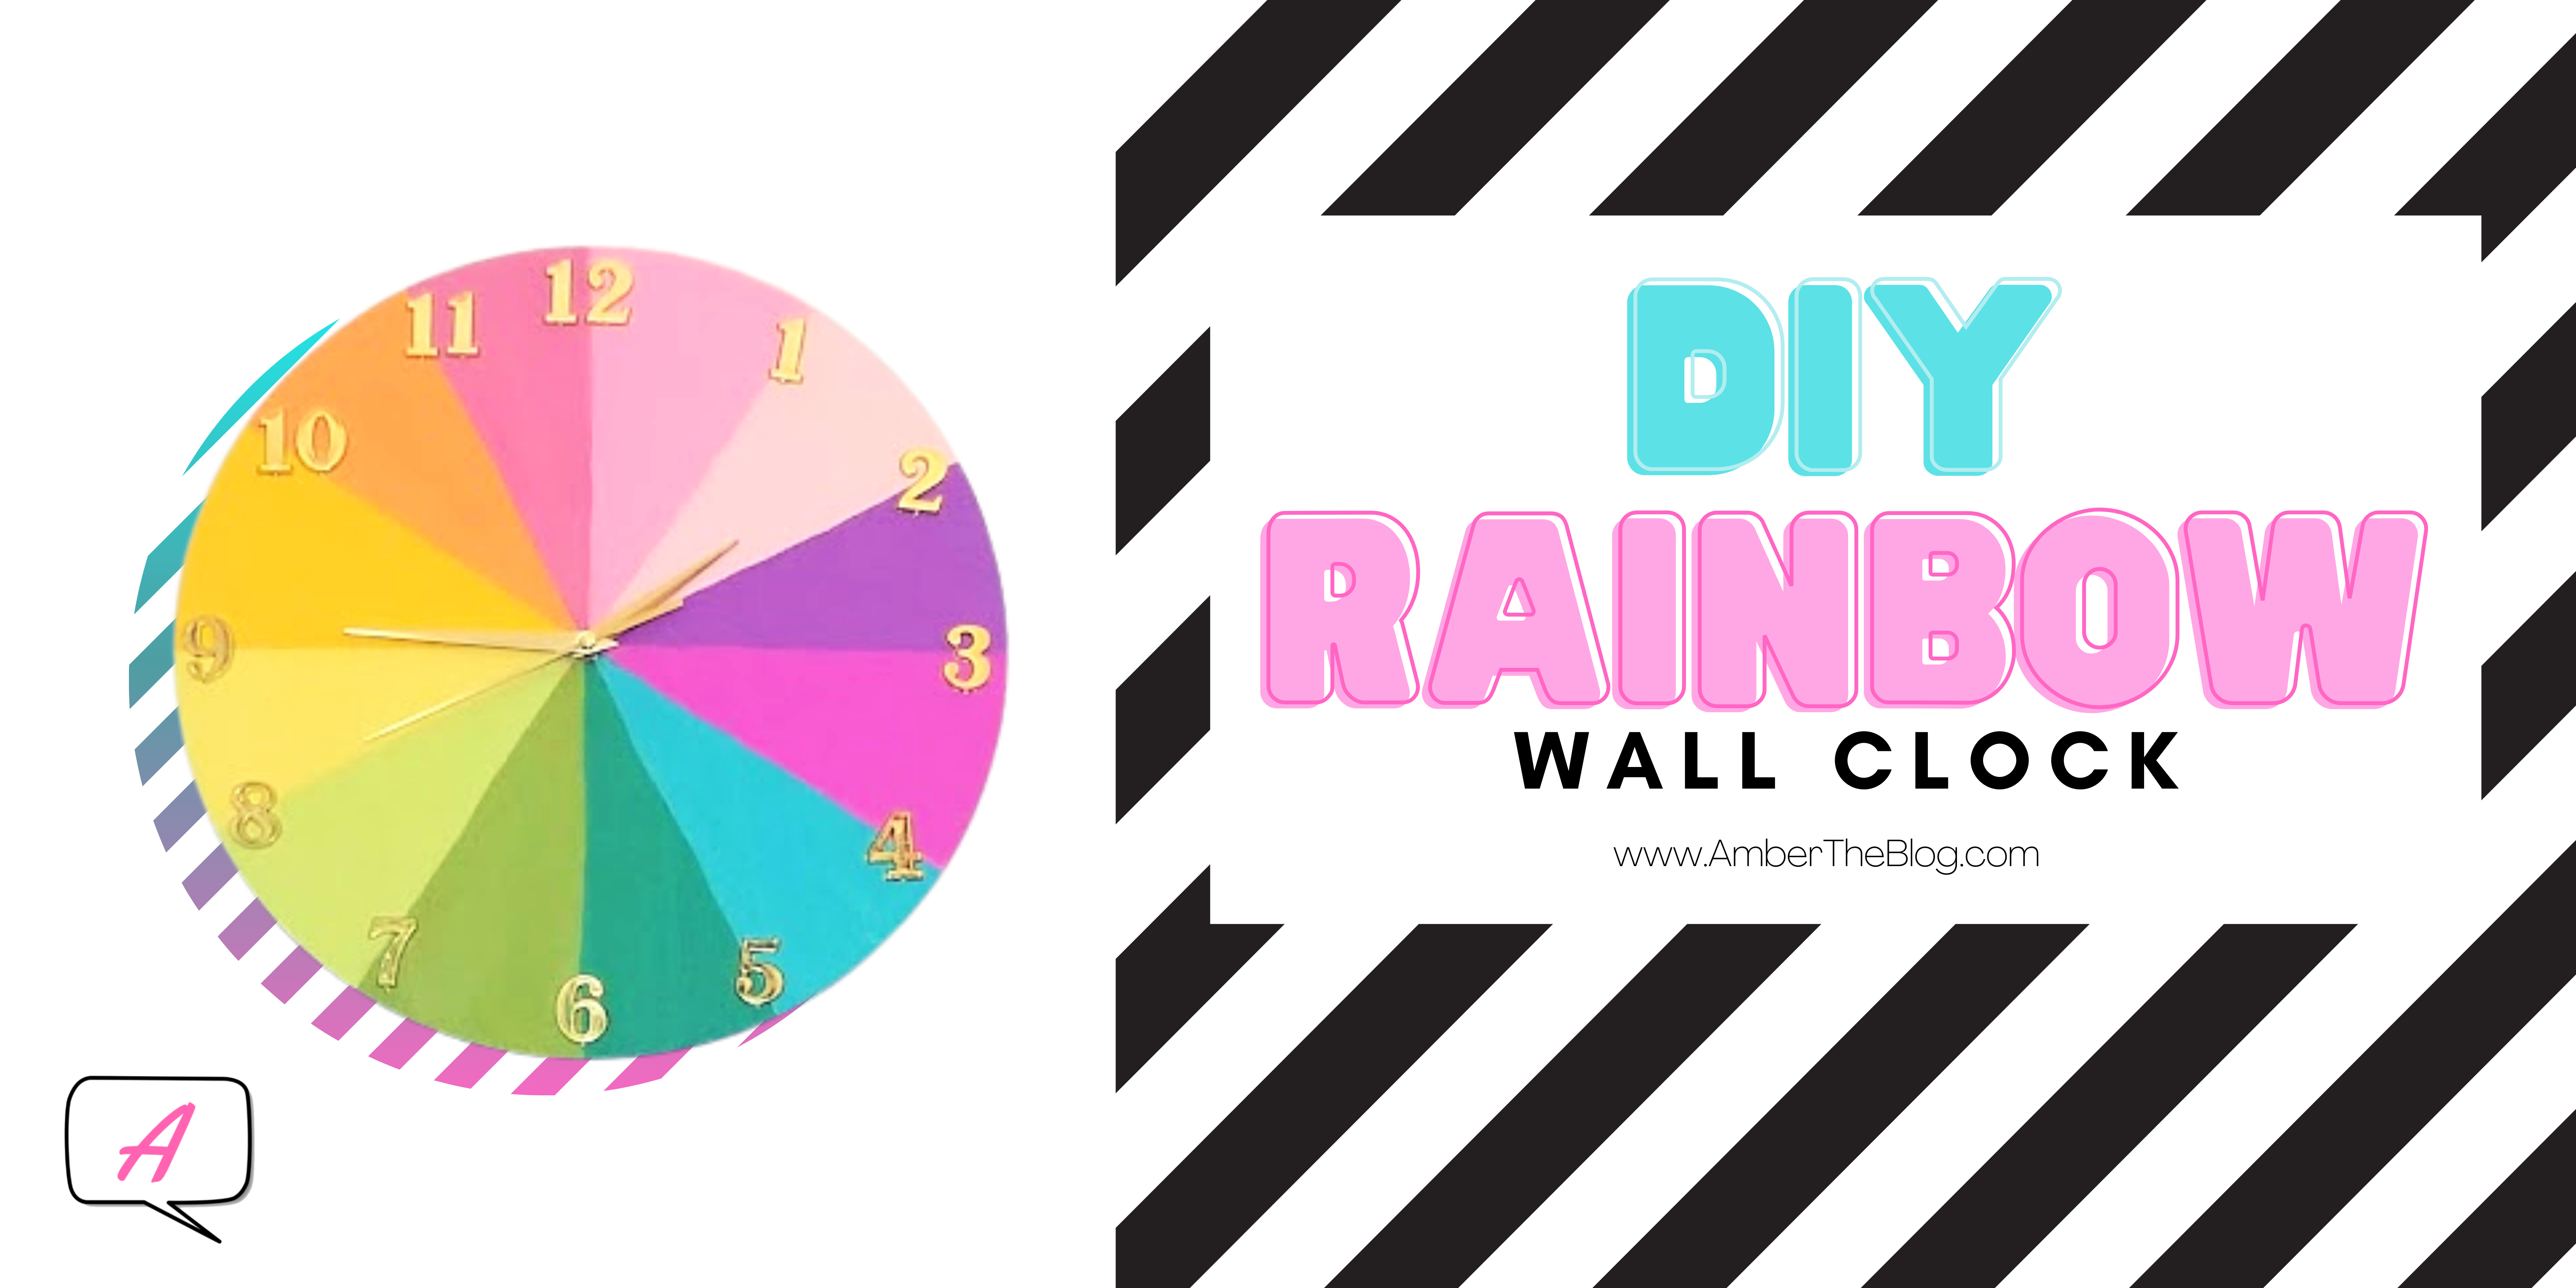
If you’ve been around for a while, it should be no surprise that I love things bright and colorful. And I was having the HARDEST time finding a clock for my office/craft room that went with my vibrant vibe! So you know what that means – DIY TIME!!!
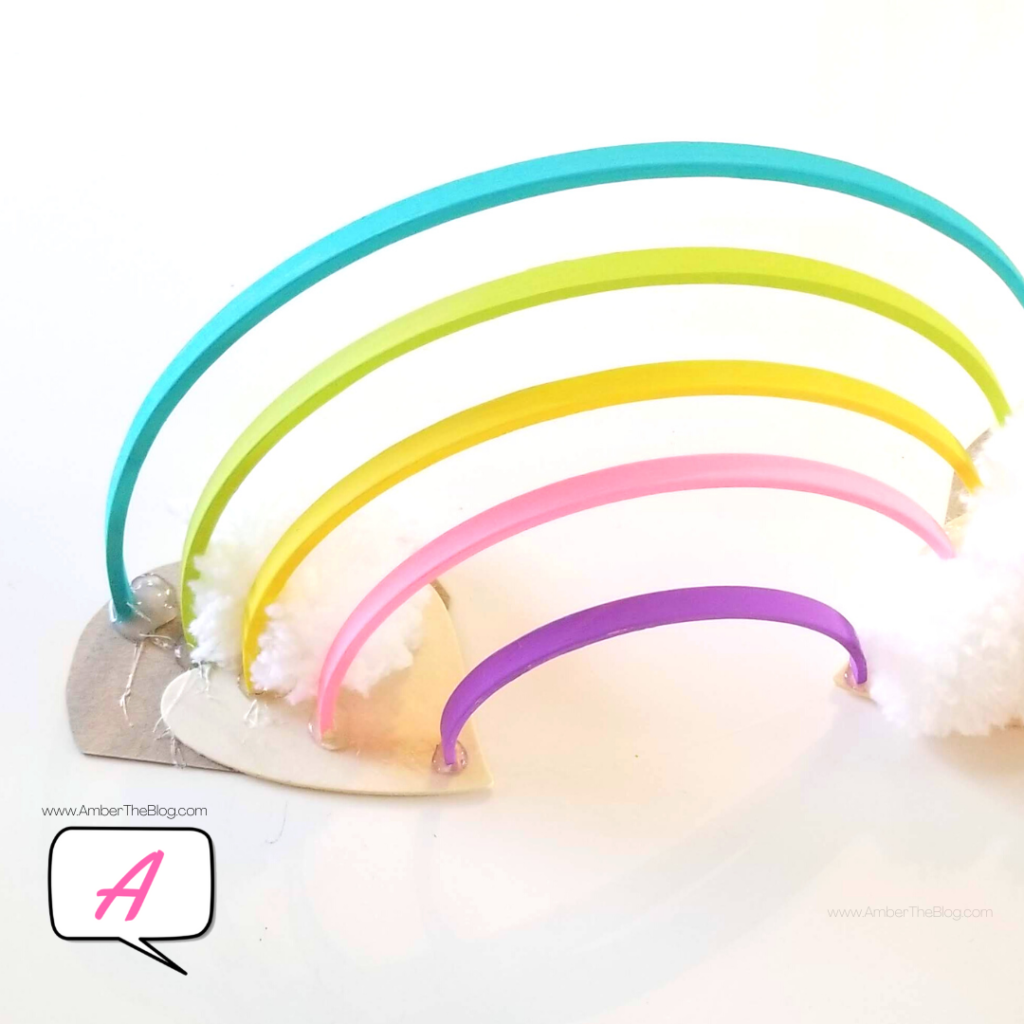
First off, I was totally inspired by Kailo Chic’s version of this rainbow, color wheel sort of clock. I wanted to make it my own way, so of course I changed it up a bit. And if you want to make your own as well, I have a list of everything I used, where I bought it, and alternatives in case you’re not close to a brick and mortar store. And don’t worry! Everything is easy to get, easy to use, and totally fun! (Plus, the outcome is stinking adorable.)
This post will have amazon affiliate links. It doesn’t affect your prices.
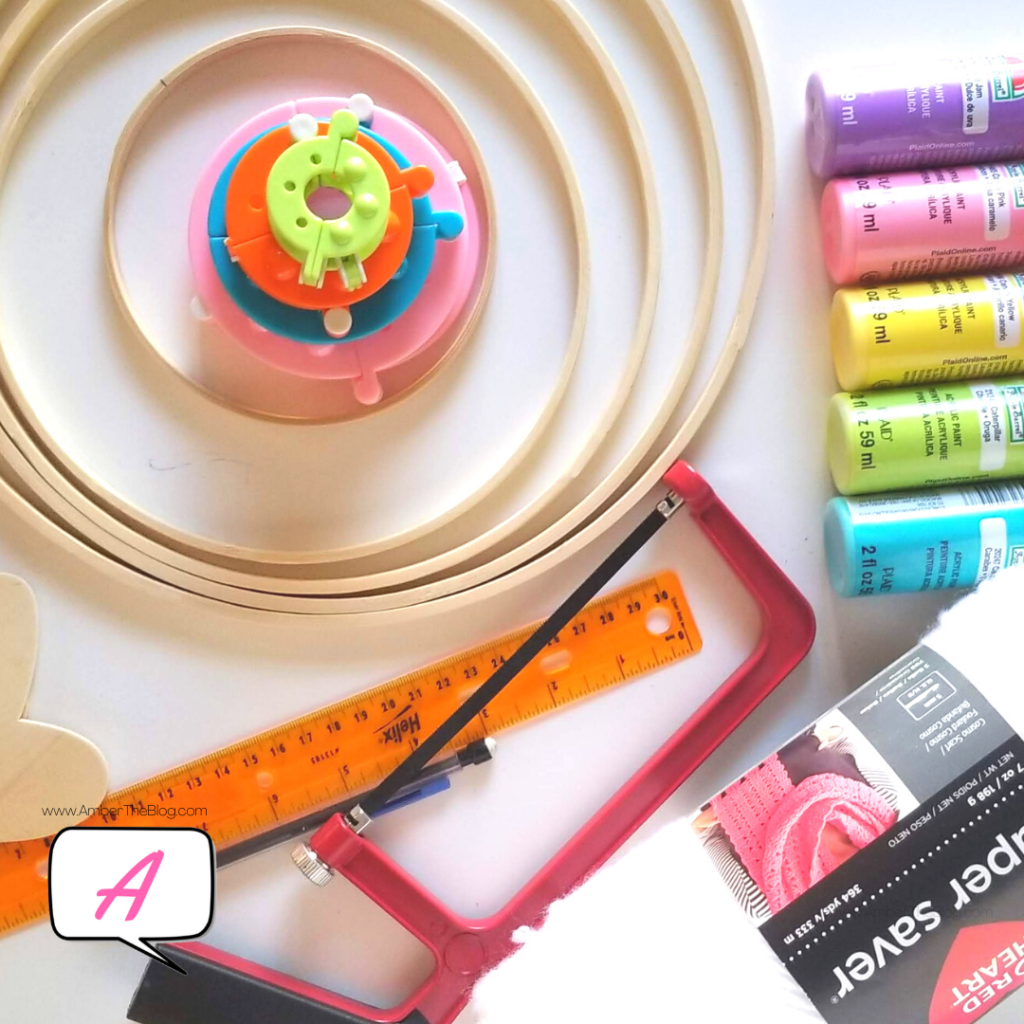
Materials:
- 12″ wooden round (I bought a single one from a craft store.)
- Clock movement (This is the exact one I’m using!)
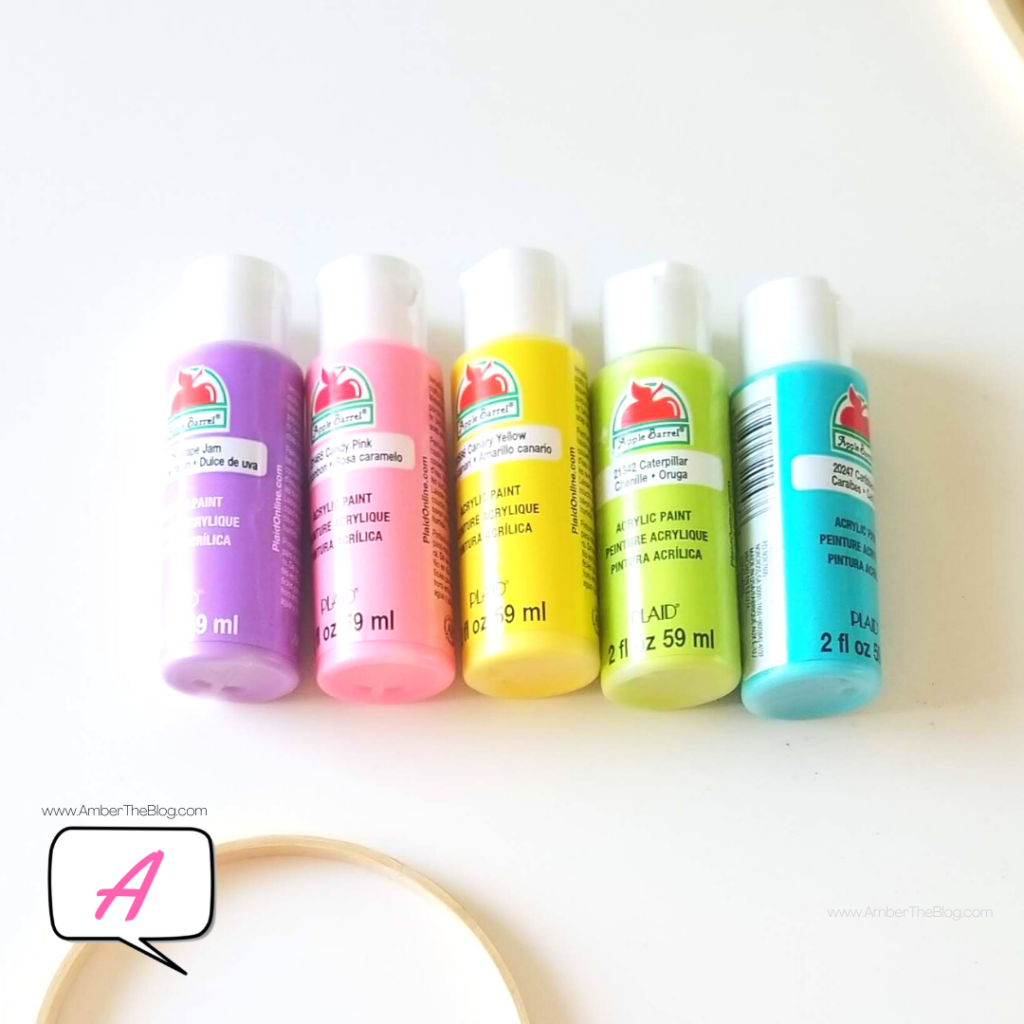
- Acrylic craft paint, matte (I love Apple Barrel! It’s my favorite!)
- Gold clock numbers
- Drill
- Large screw or bit
- Hammer
- Nail
- Ruler
- Pencil
- Craft paint brush
- Craft paint palette or paper plate
- Sand paper (optional)
- Protractor (optional)
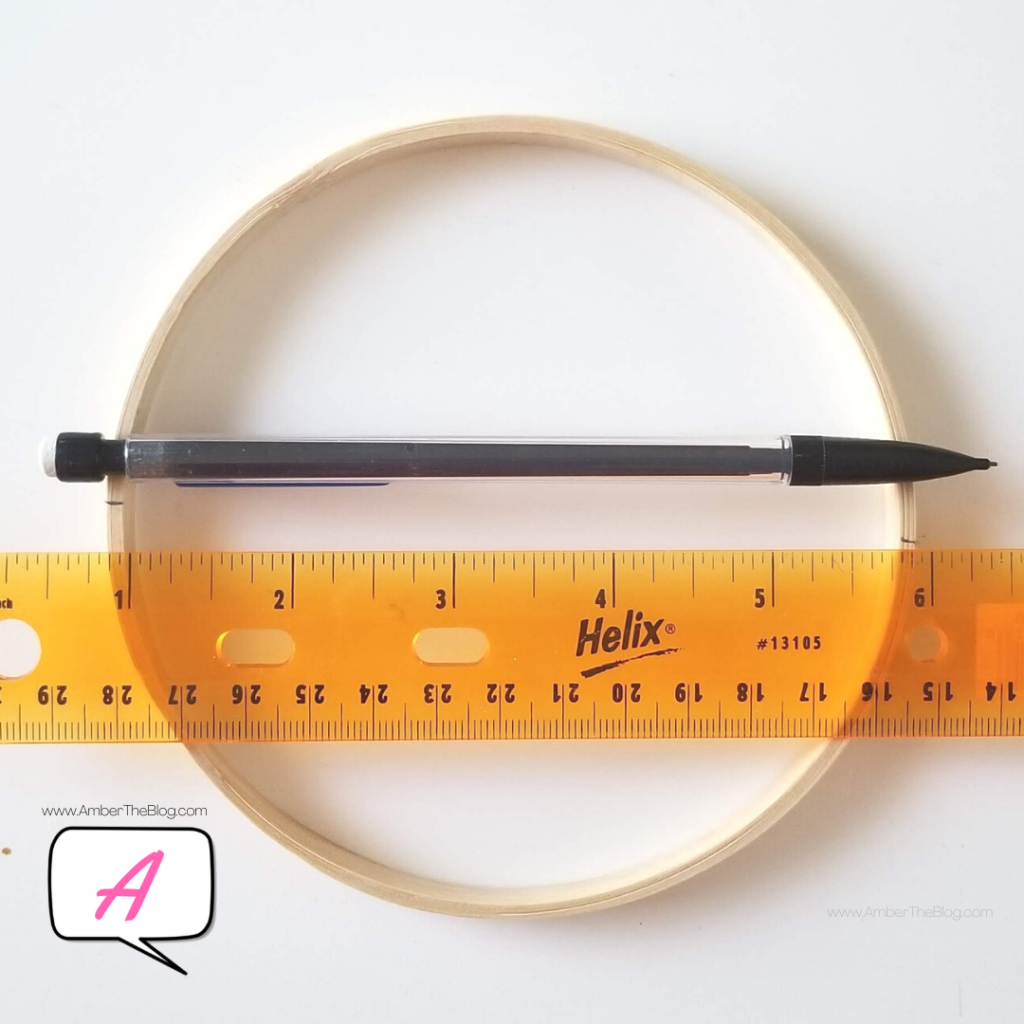
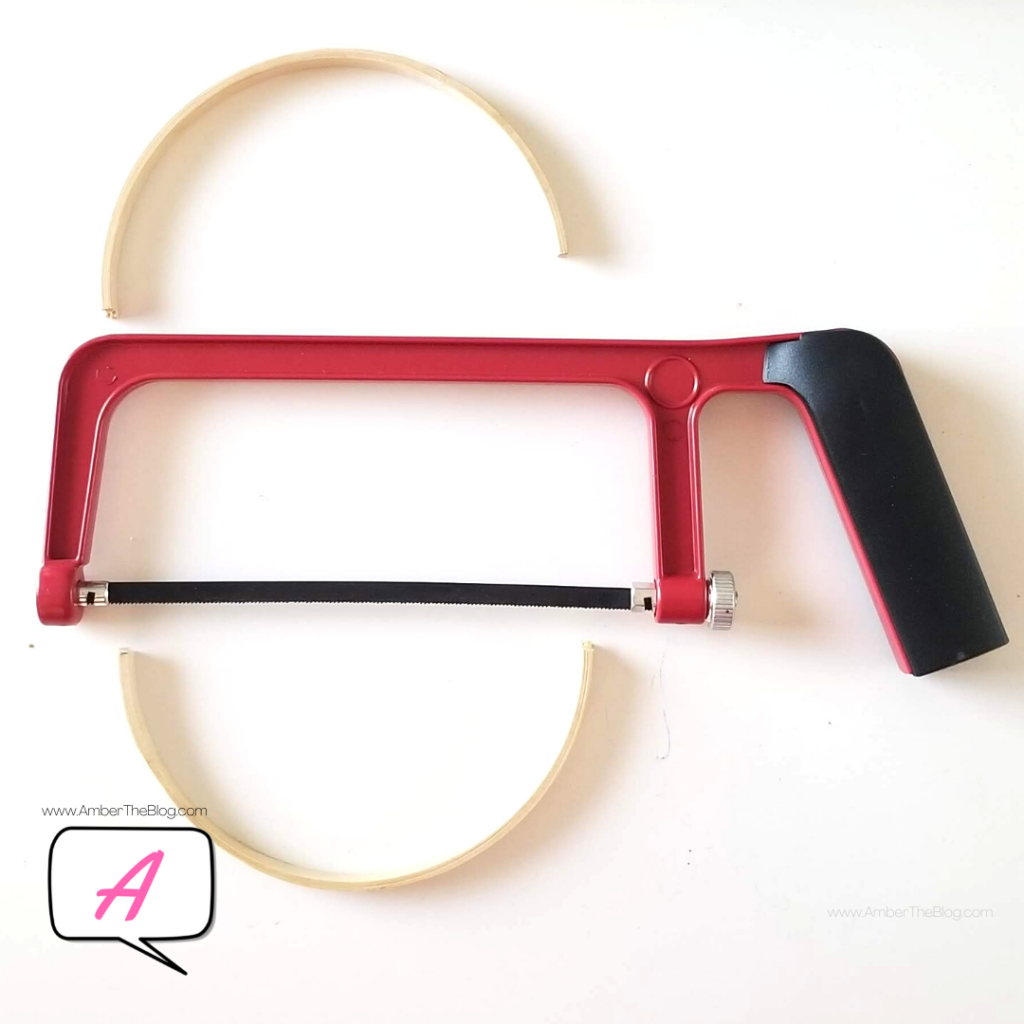
By far the most difficult part for me was eyeballing the division into twelfths. (Also, that’s a weird word to spell. “Twelfths.” Sort of weird to say, too, now that I’ve tried.) This is where you can optionally use a protractor to help you out.
Now, I didn’t use a protractor. I eyeballed it first into half, then half again to give me quarters. Then I carefully eyeballed each quarter into thirds to give me 12 equal-ish sections, one for each hour. (There was a substantial amount of erasing involved.)
If you use a protractor, my math tells me that each section should be 30 degrees wide. (There are 360 degrees in a circle. Three-hundred-sixty divided by 12 = 30.) If that’s wrong, well, oops. But if you want them to be EXACT, use a protractor. If you want to discover new colorful expletives that aren’t curses that you can growl in front of your child, just eyeball it. (“FUDGE RIPPLE. COW PATTIES. CHICKEN NUGGETS” are a few of my favorites. Try it. Just say one with all the force of a curse word. Feel better, right?)
Before you start painting, I’d suggest drilling a hole in the center for your clock mechanism now. Otherwise, you risk any wood splintering ruining your lovely paint job. This happened a bit to mine, but it was really not noticeable unless you’re very close. I used a cordless drill and a large screw about the size of the hole I wanted. I started with a smaller screw and worked my way up the large one to drill the hole. If you have a drill bit the same size, you can use that, too.
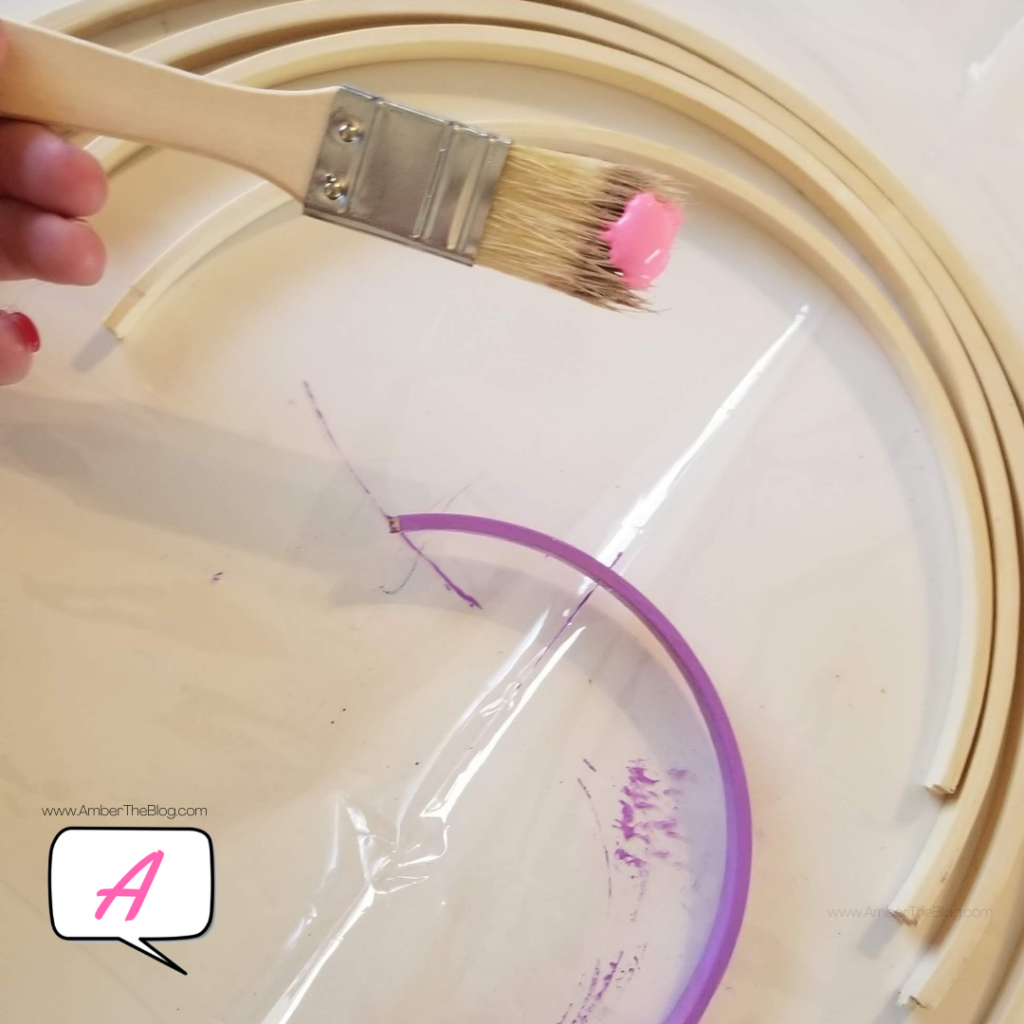
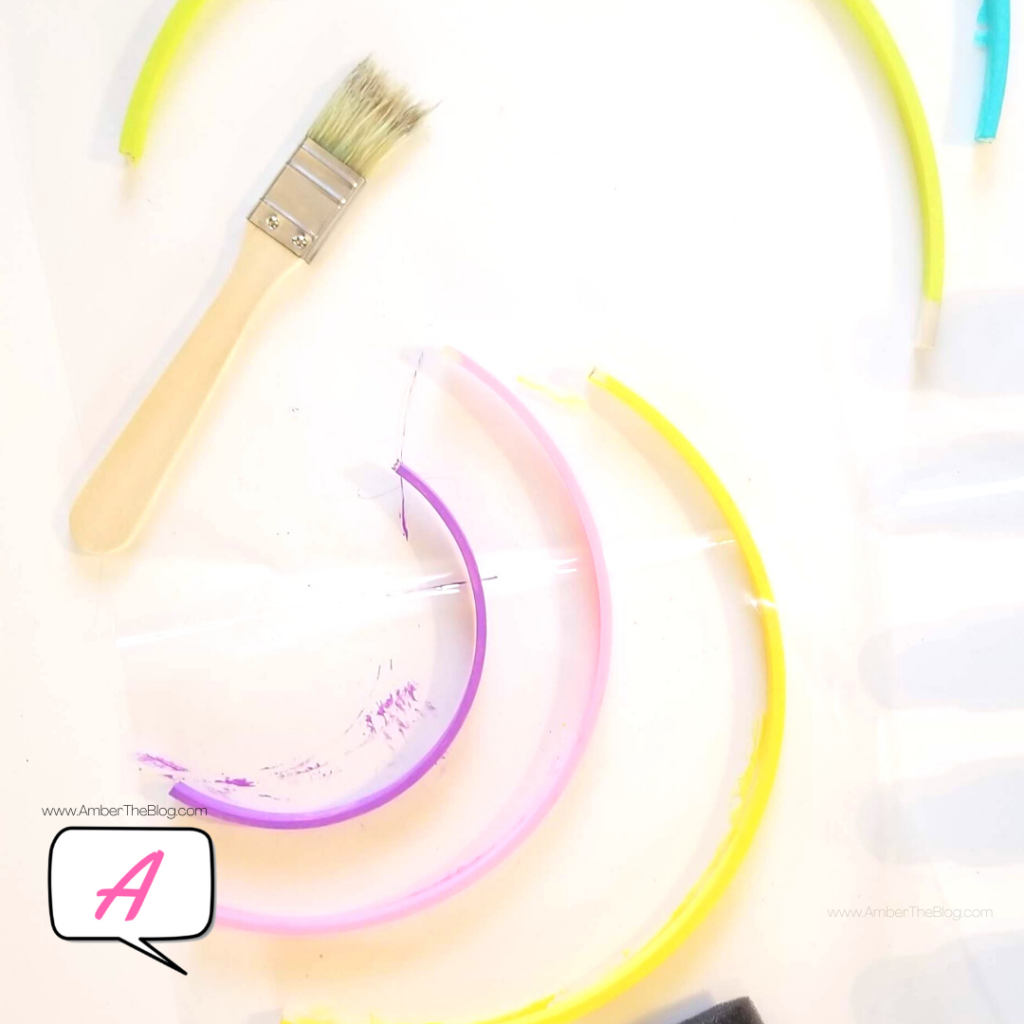
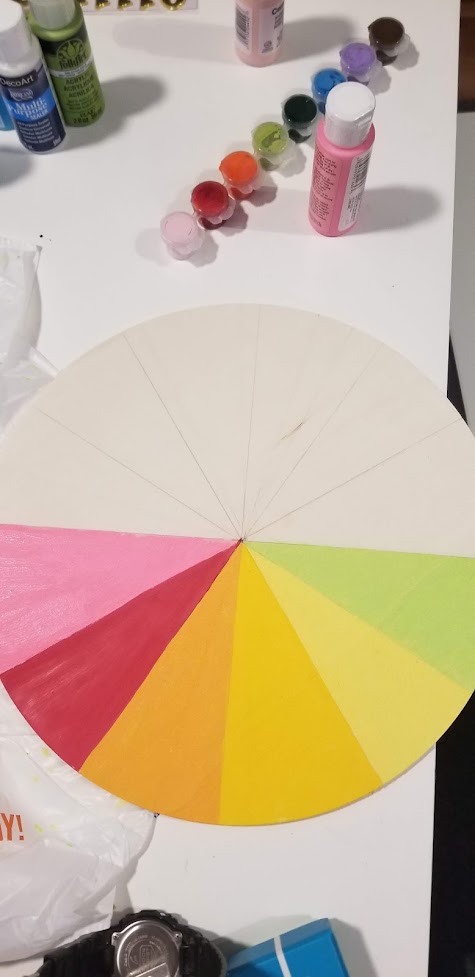
Once you’ve divided up your hour sections and have your center hole, it’s time to paint! You can optionally use washi tape or painter’s tape to block out your areas, or, like every other chaotic thing I do, you can just freehand it like me. I first painted along the edge of my current hue and then filled it in. I actually had one color I just didn’t like, so I painted over it with three layers of my new color. So don’t worry about making a mistake! Almost anything can be fixed! Do a few coats to really cover the wood grain and let it dry thoroughly.
Grab your numbers! (Or Roman numerals if you’re fancy~.)
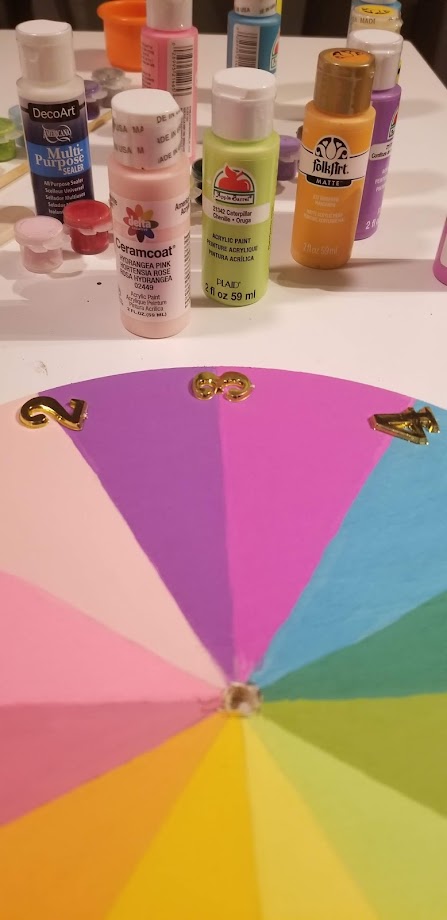
It’s time to put those babies where they belong! Once they are properly applied, all you have to do is insert your clock mechanism according to the directions. I fiddled with my clock hands a bit (one bent a tad during installation) and made sure that 1) none of them touched each other, and 2) none of them touched the surface of the clock face. Either one of these issues will prevent it from operating properly.
Them simply insert your batter, check its operation, and voila! You’re ready to hang up your brand new wall clock. Congrats!

It’s really as simple as that! Did you make one? Tag me on instagram! If you have any questions, drop a comment below and I’ll do my best to answer you.
Happy making!