
This post will have links to outside sources, such as Amazon. These links do not affect your prices.
There is an entire paragraph of things I could write to improve metrics and make sure this gets out, but unlike those recipes that leave you thinking, Just get to the recipe, already, I’m not going to drag this out.
Let’s get started!
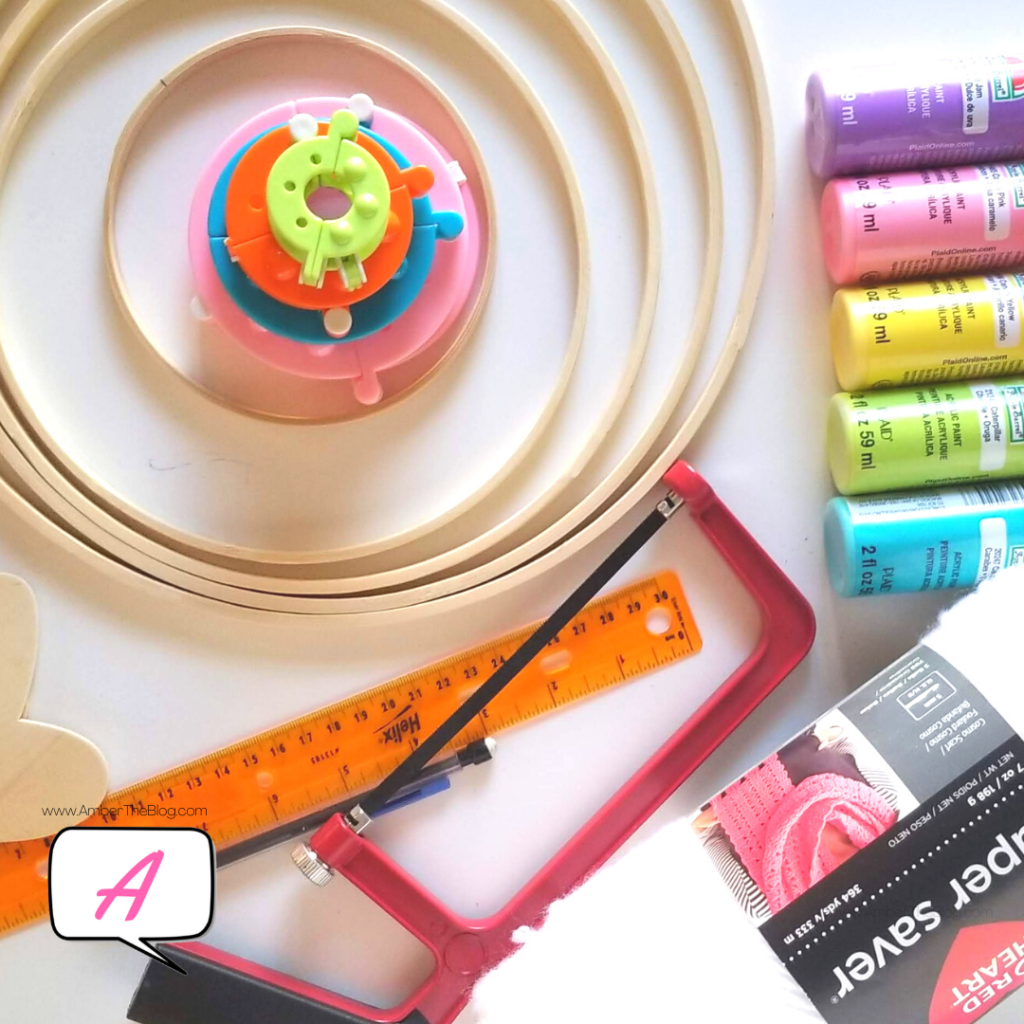
Materials:
- Various embroidery hoops in ascending sizes (I used 5″, 7″, 8″, 9″, 10″)
- Acrylic crafts paints in colors of your choice (need color palette ideas? Check out my board on pinterest!)
- Ruler
- Pencil with eraser
- Pompom makers
- White yarn (don’t break the bank. Get something cheap. Bonus points if it is still natural material and biodegradable!)
- Sharp scissors
- Glue gun
- hot glue
- Wood circle x2 (or hearts, or even thick chipboard)
- Paint brushes or sponges
Do the thing
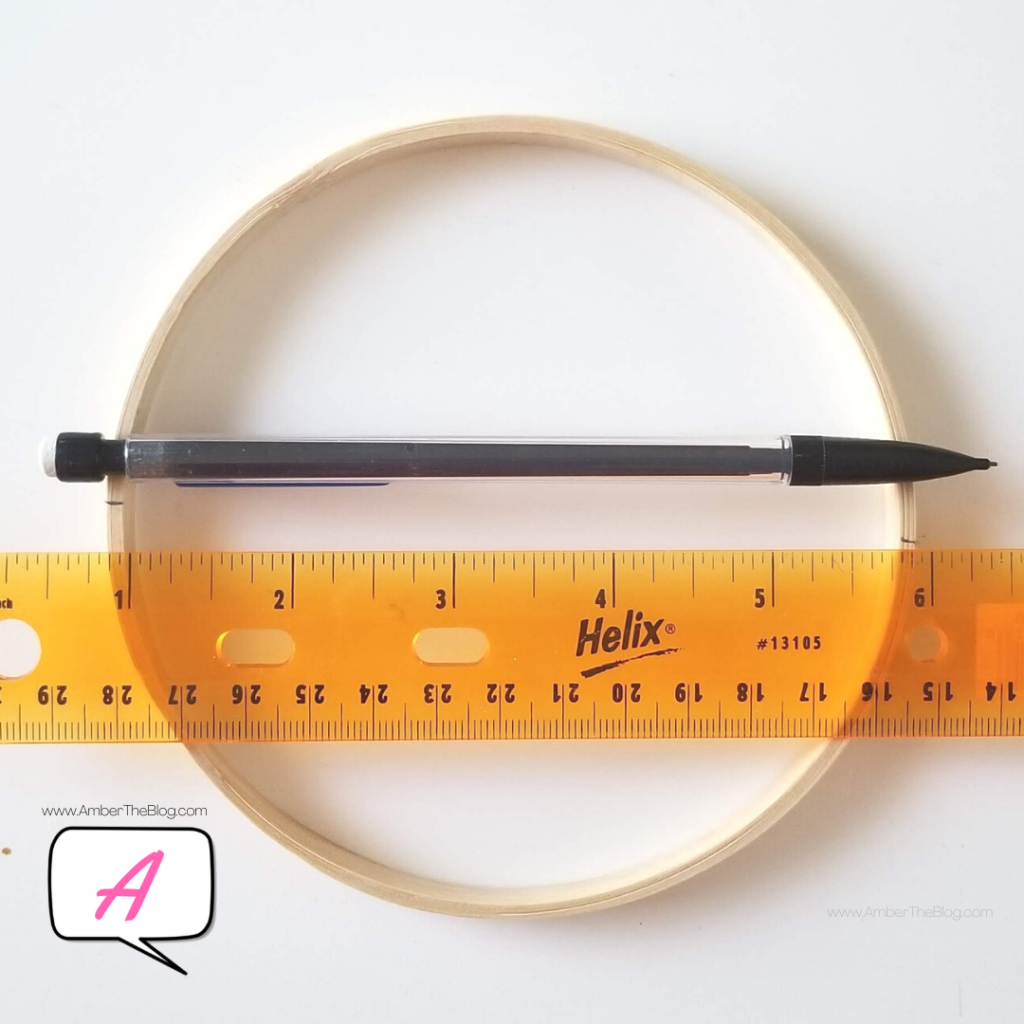
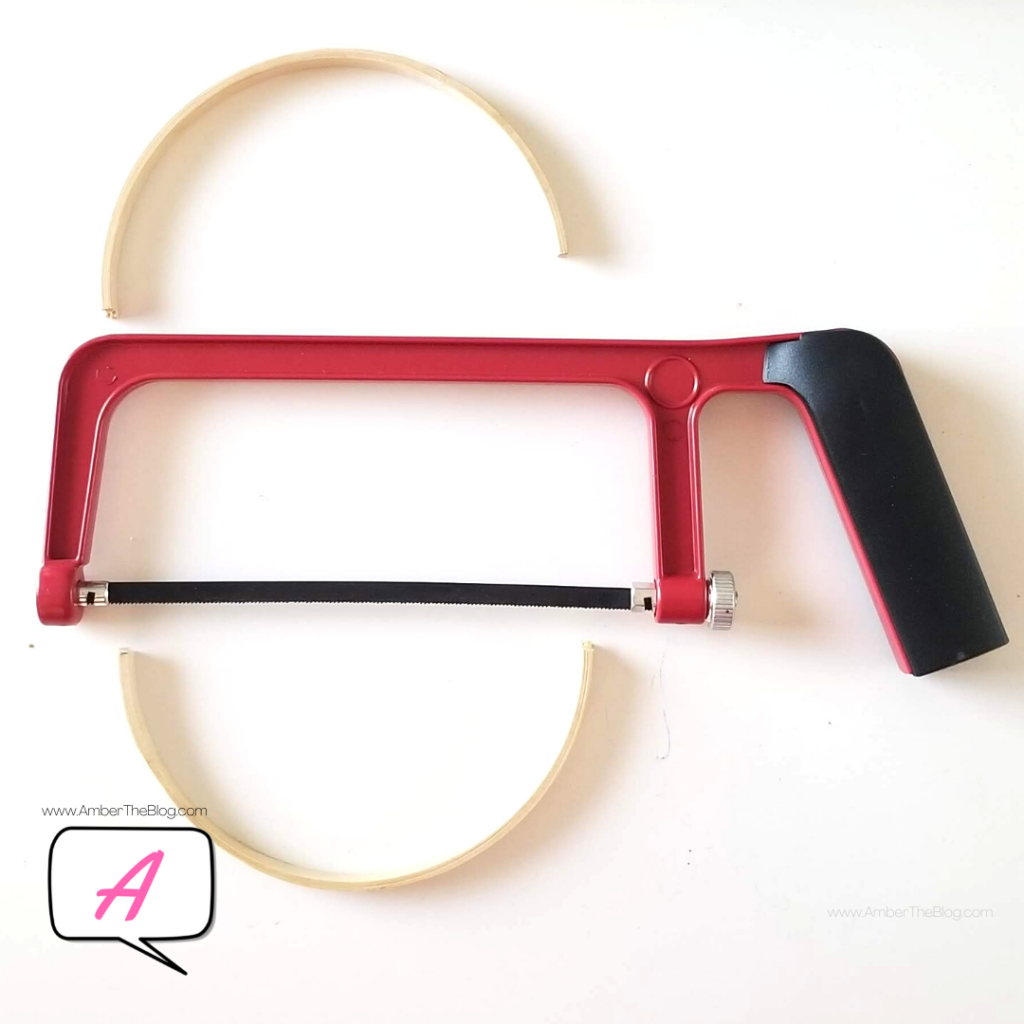
- Start by measuring the hoop. When you find the widest point, mark it for cutting. Double check yourself and don’t be crooked like I was the first time when I took this photo.
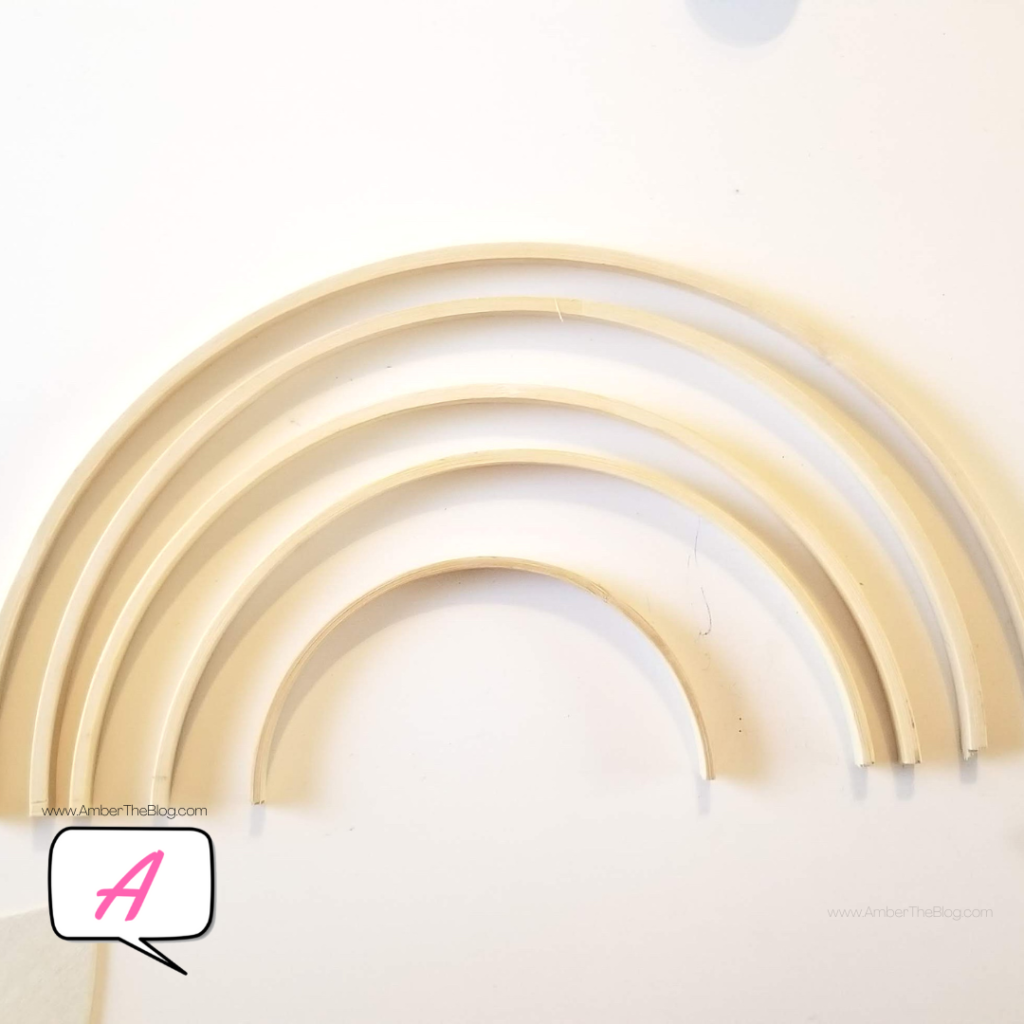
- Cut along the lines on all five hoops. Check to ensure that they all align at the base the way you want. Make more cuts as needed.
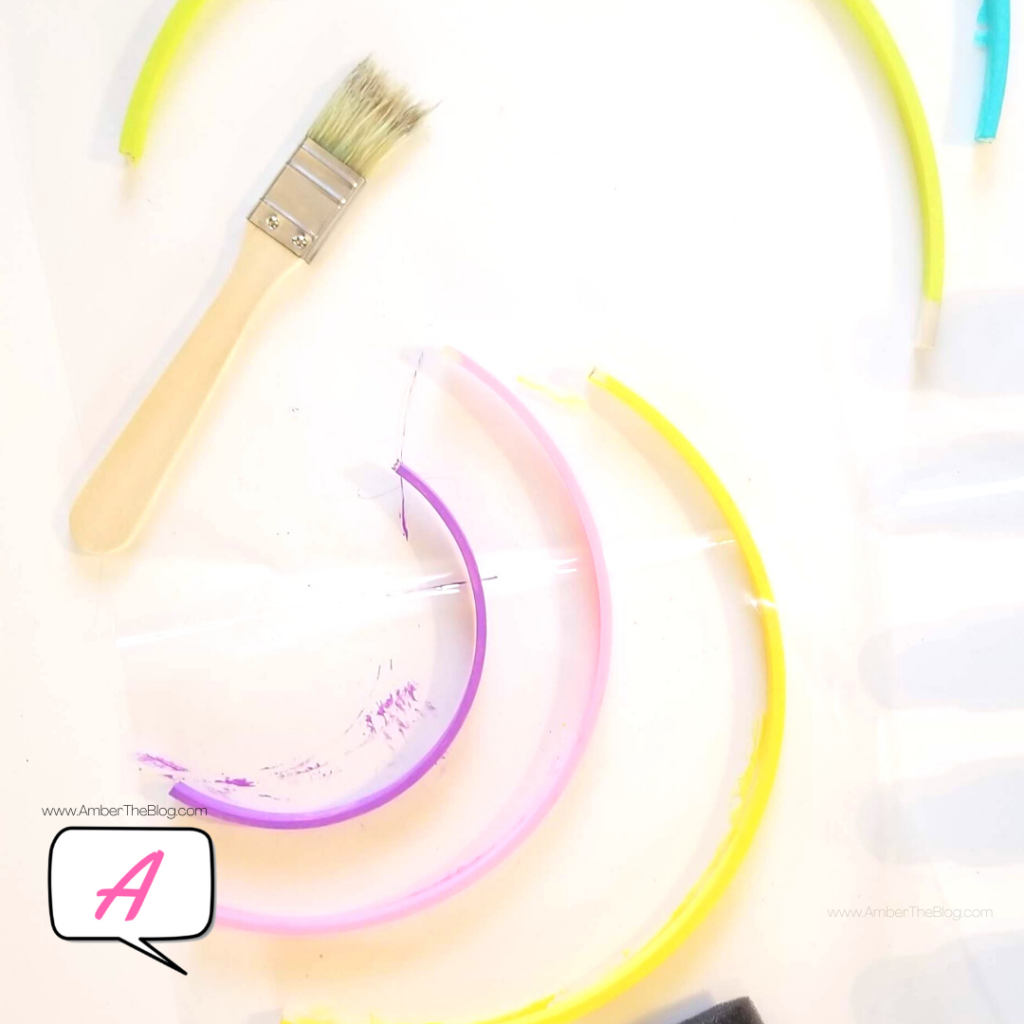
3. Start painting! Give it at least two coats and plenty of time to dry in between.
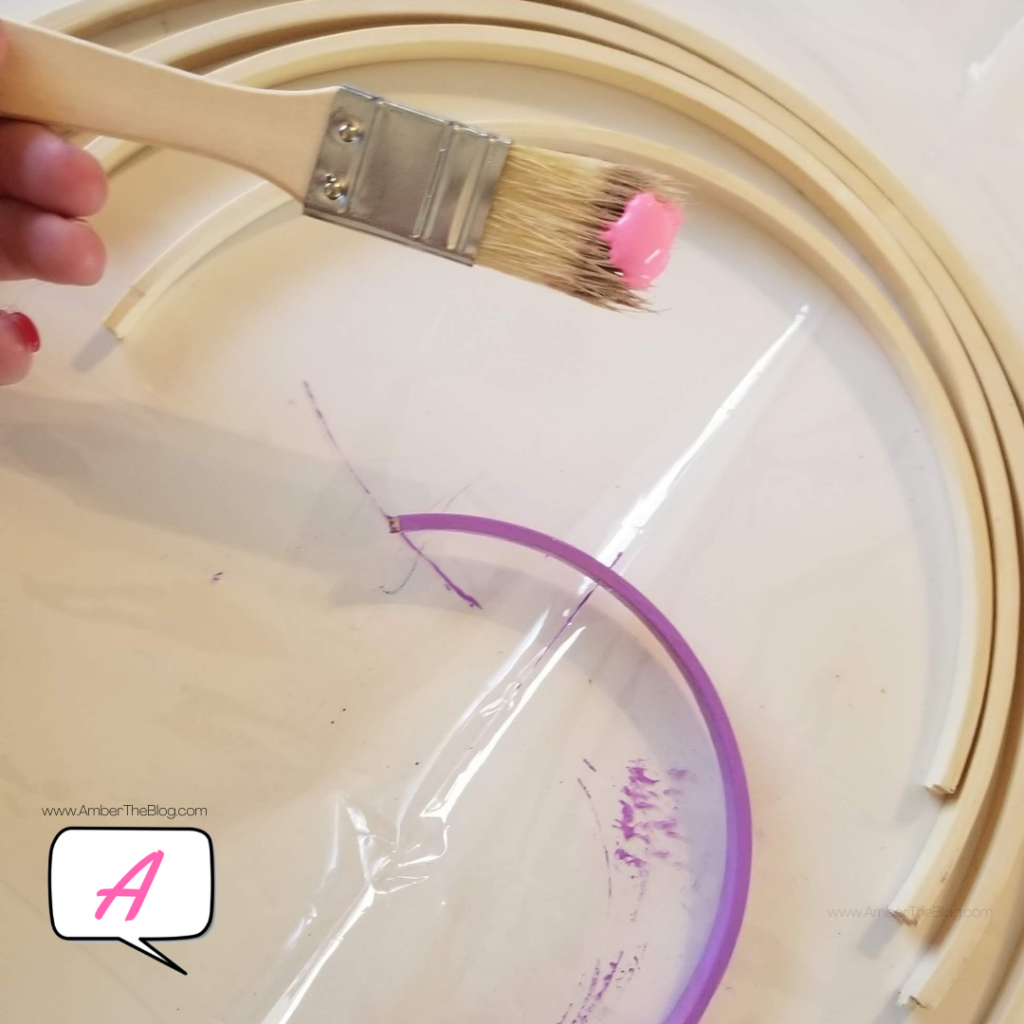
While the paint is drying, it’s a great time to move onto your next step, which is
4. Make poms poms!
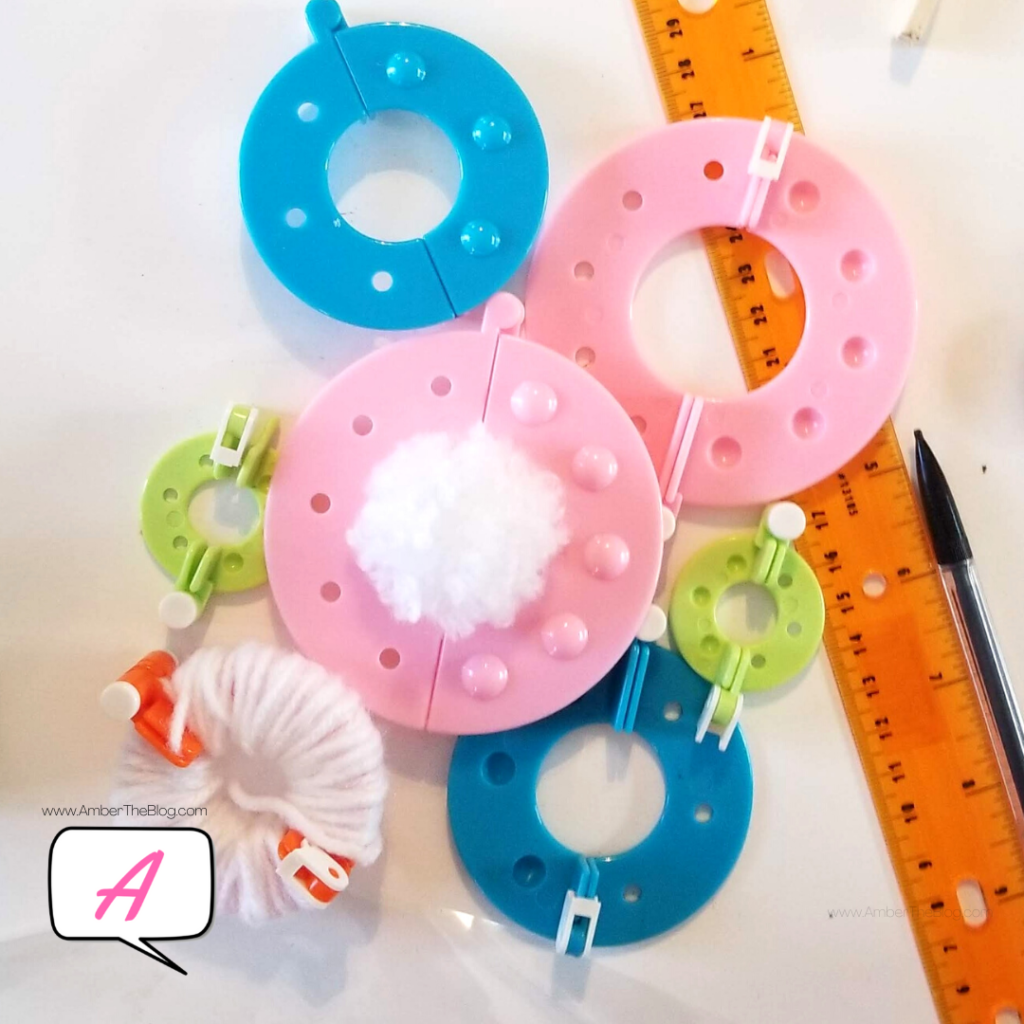
Make pompoms. Make all the pompoms. Making them in varying sizes gives the clouds a nice puffy effect as opposed to them all being the same size. A good and sharp pair of scissors makes this task go by a lot more quickly!
Once your paint coats are dry and your pom poms are ready, it’s time to heat up the glue gun.
5. Glue the painted arches of your rainbow down, one side at a time. Do one arch completely before the next to ensure you get them straight. (Sometimes hot glue likes to move while it dries, so you may need both hands to hold the arch in place.)
6. Glue the next arch behind the previous, leaving a space of about 1-2 fingers width. (Enough to hold some light mail easily.) Repeat until the rainbow is complete.
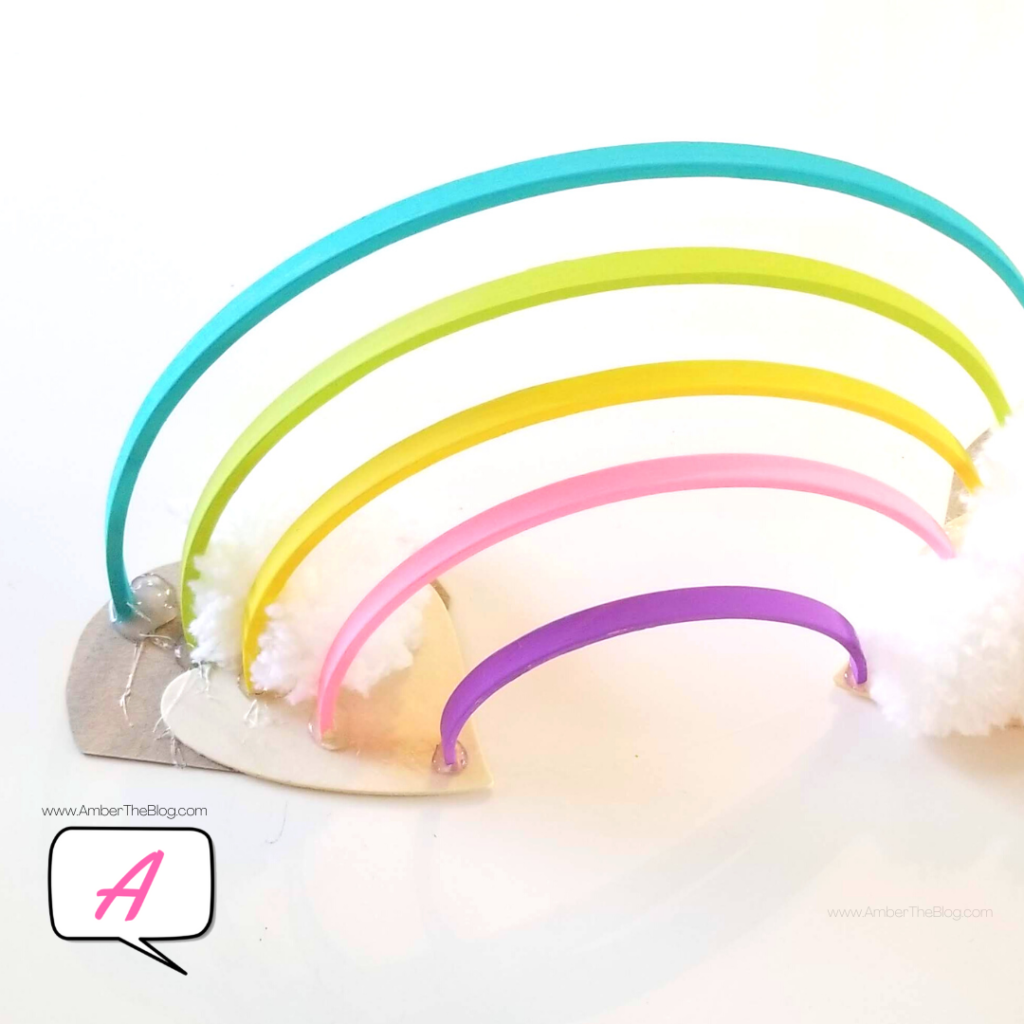
7. Once the glue has cooled and your arches as stuck tight, begin placing your pompoms. Go ham. Fluff it up as much as you want!
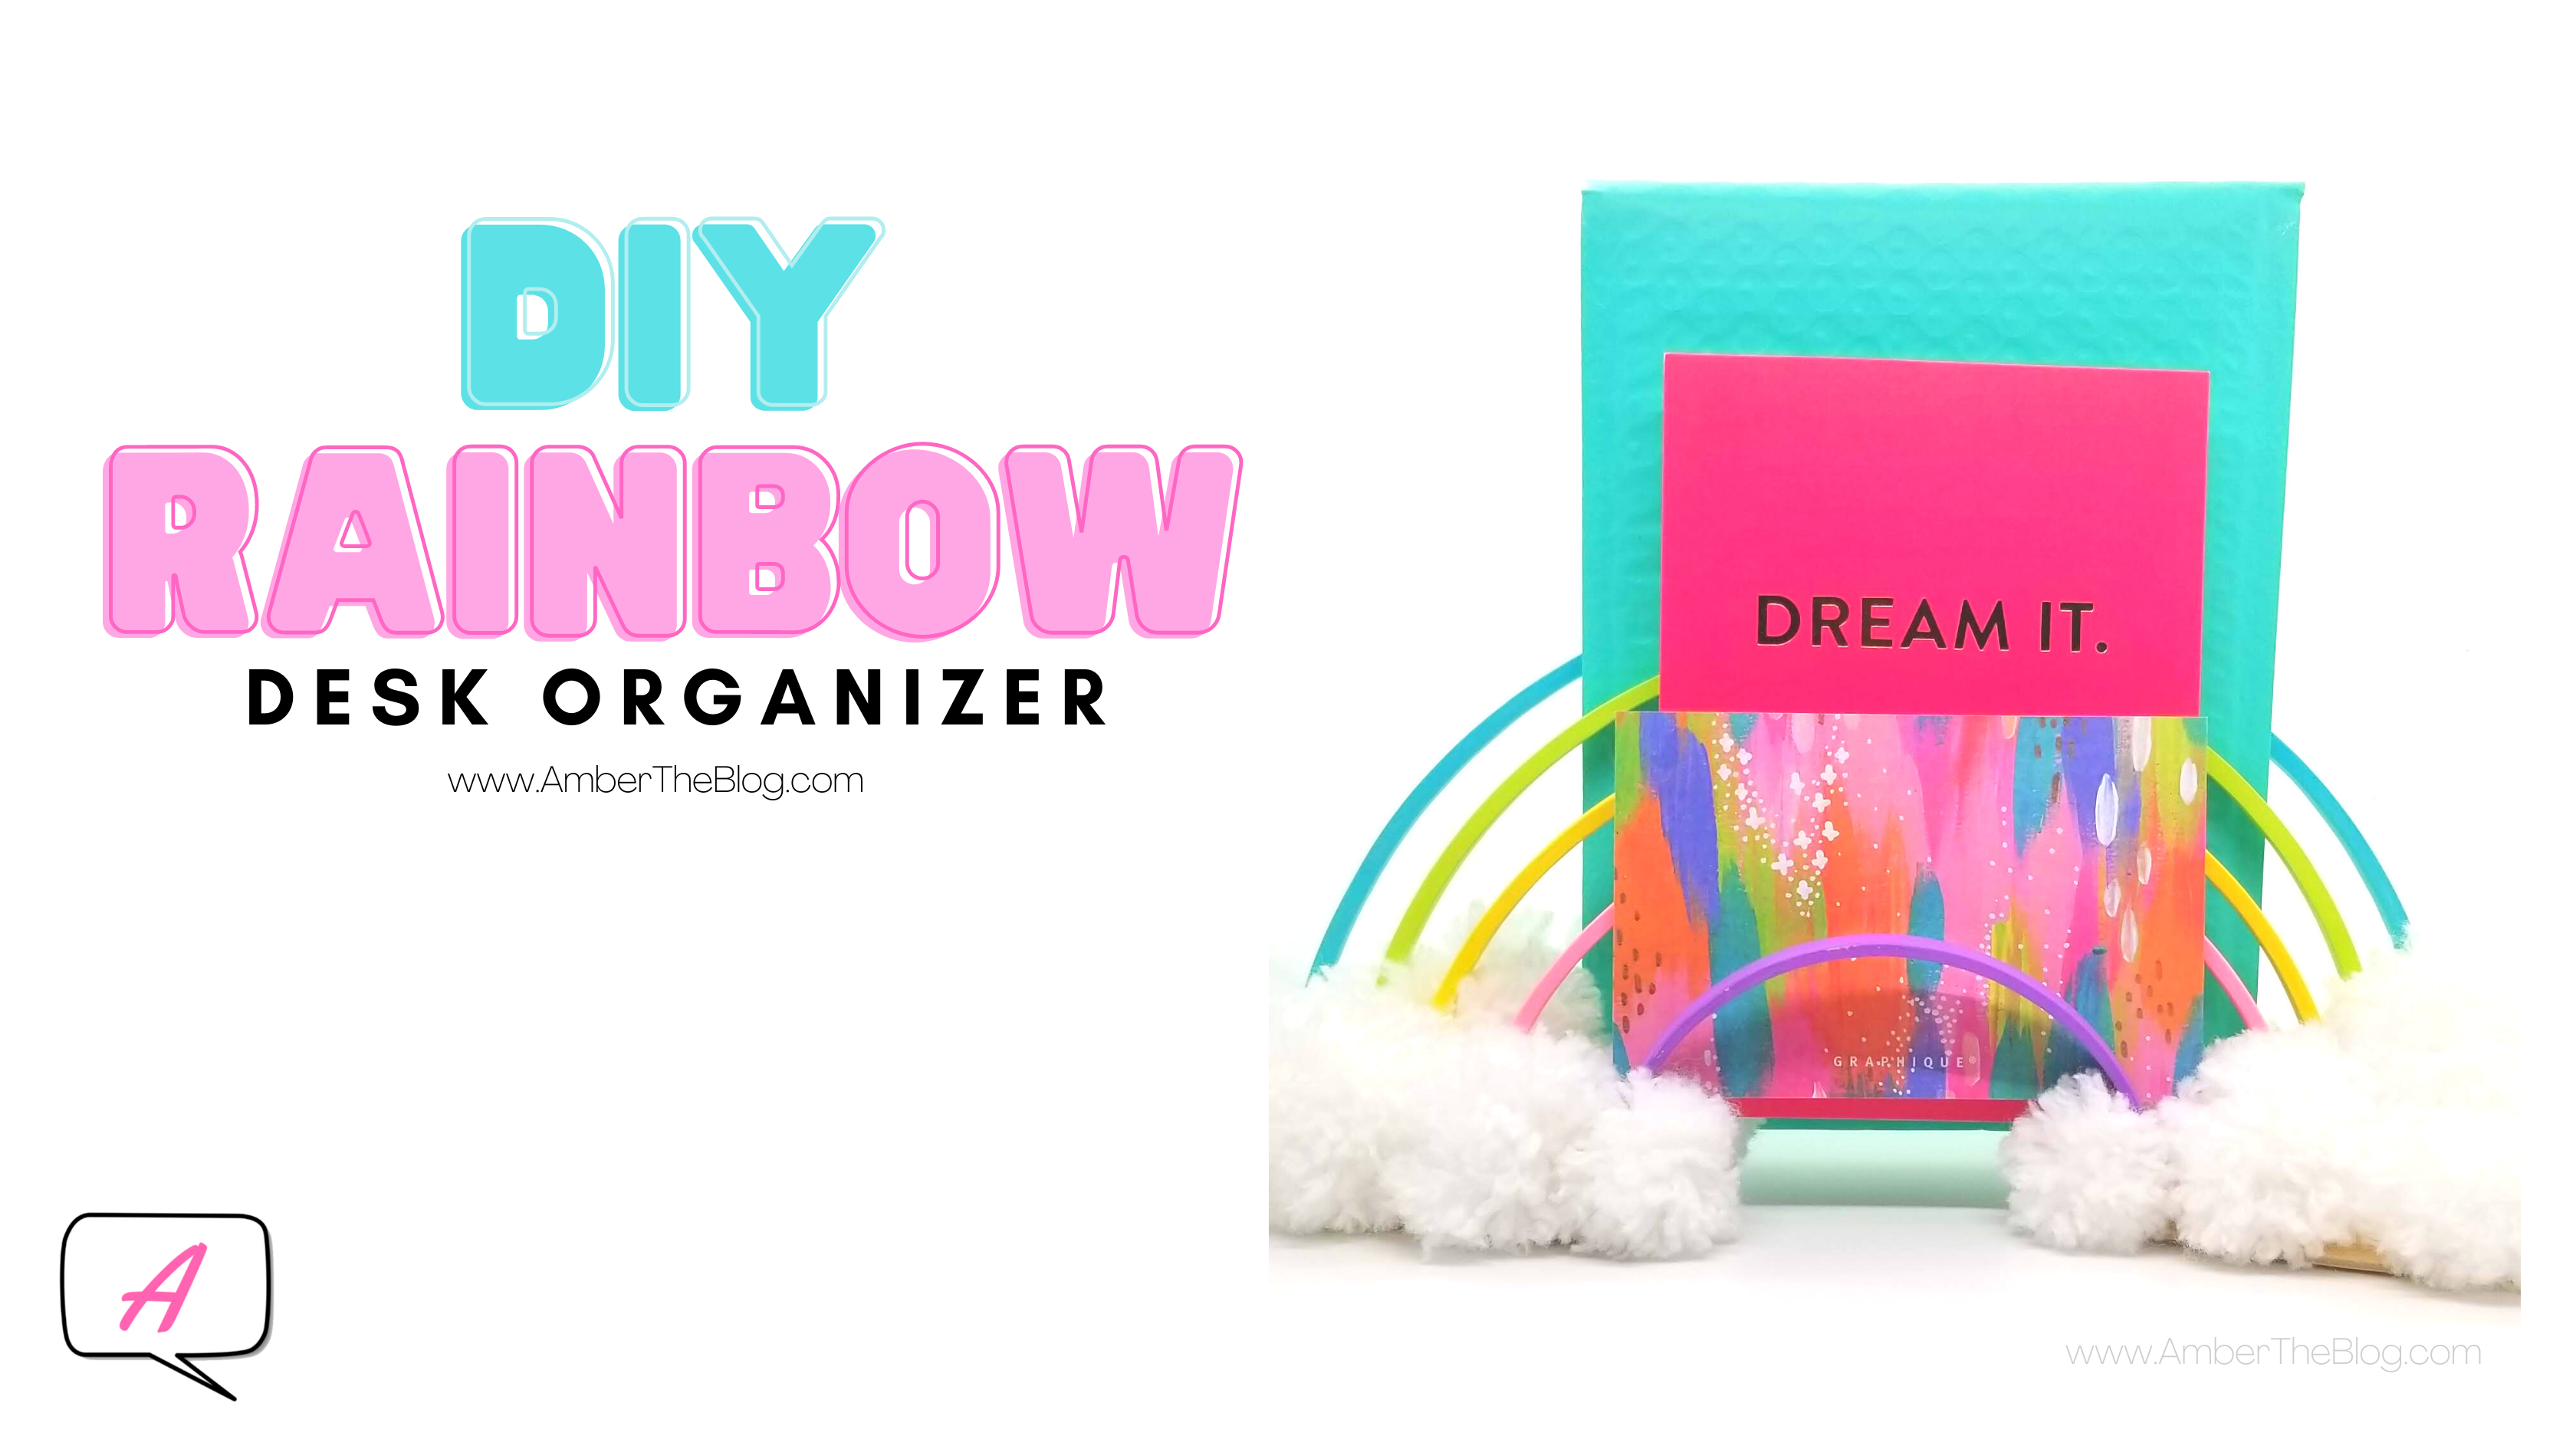
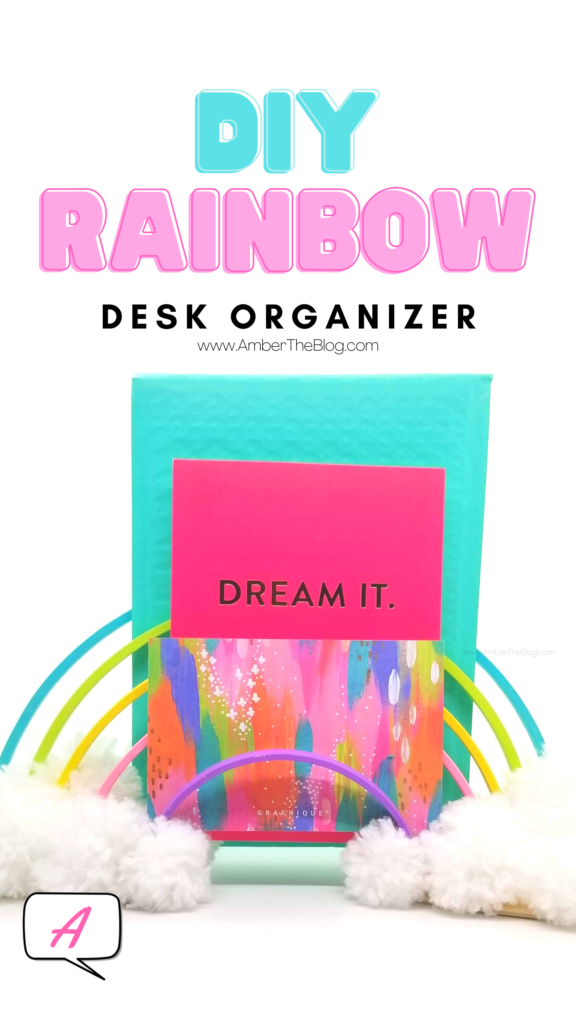
Once everything has cooled, you have yourself a fun, lightweight, and totally brilliant desk organizer (or even just a cute piece of décor)!
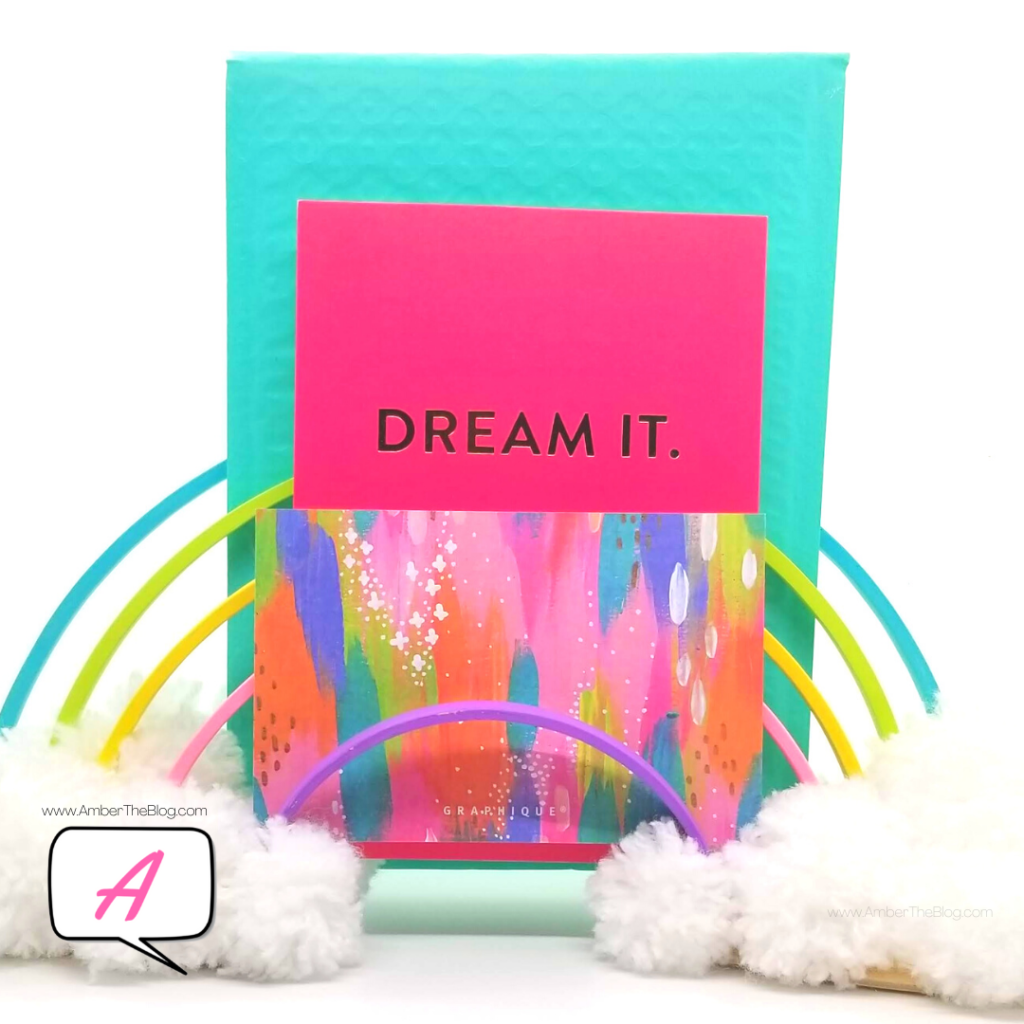

This project is super easy and can easily be done in a single day. If you want to speed up the process even more, you can purchase premade pompoms. Special thanks to Amber (wow, great name!) from Damask Love who inspired this project with her Waldorf Rainbow DIY.
Have you tried this type of project before? What other crafty ways can you think of using embroidery hoops for something besides embroidery? I’d love to hear your ideas in the comments below. As always, so glad to have you here. Keep crafting!