Here are all the details on my Jester LaVorre cosplays, both her canon outfit from the campaign and the modern alternate universe (AU) clothes that I designed.
The Little Sapphire
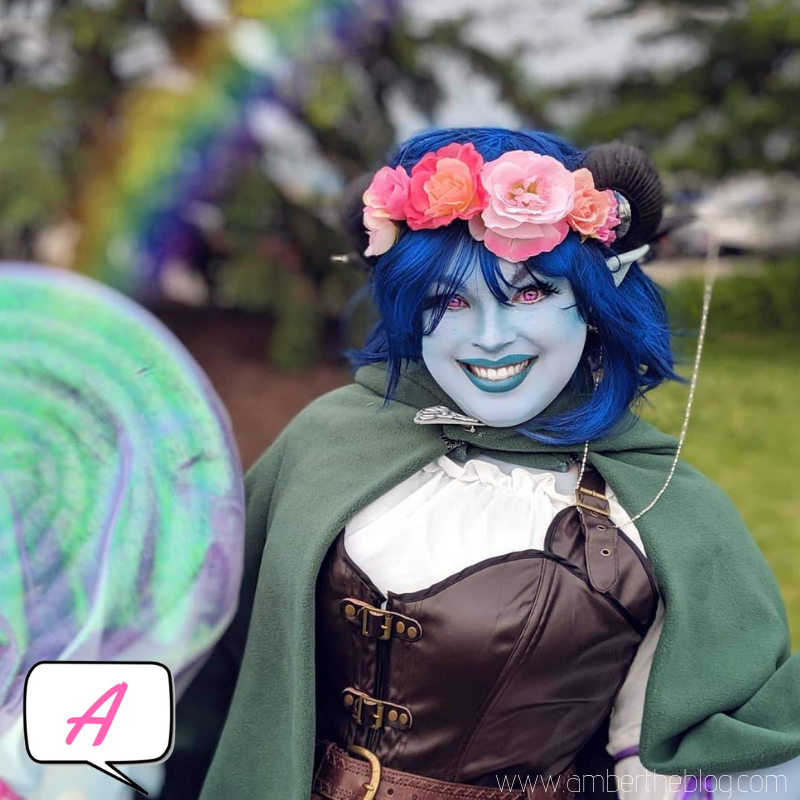
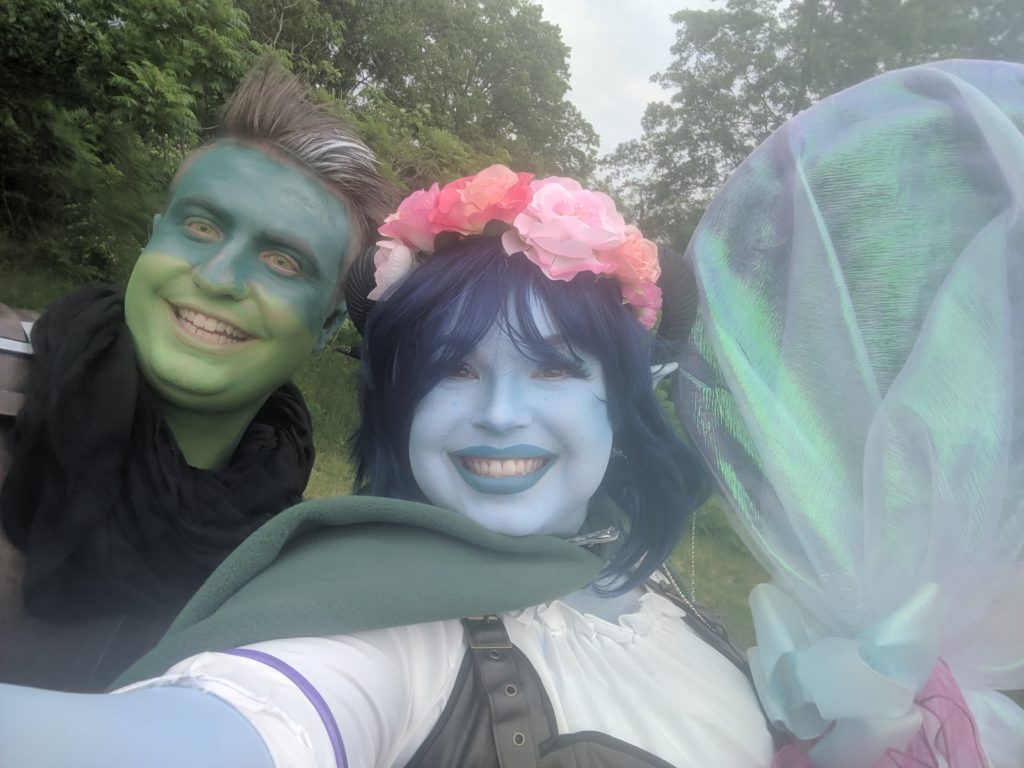
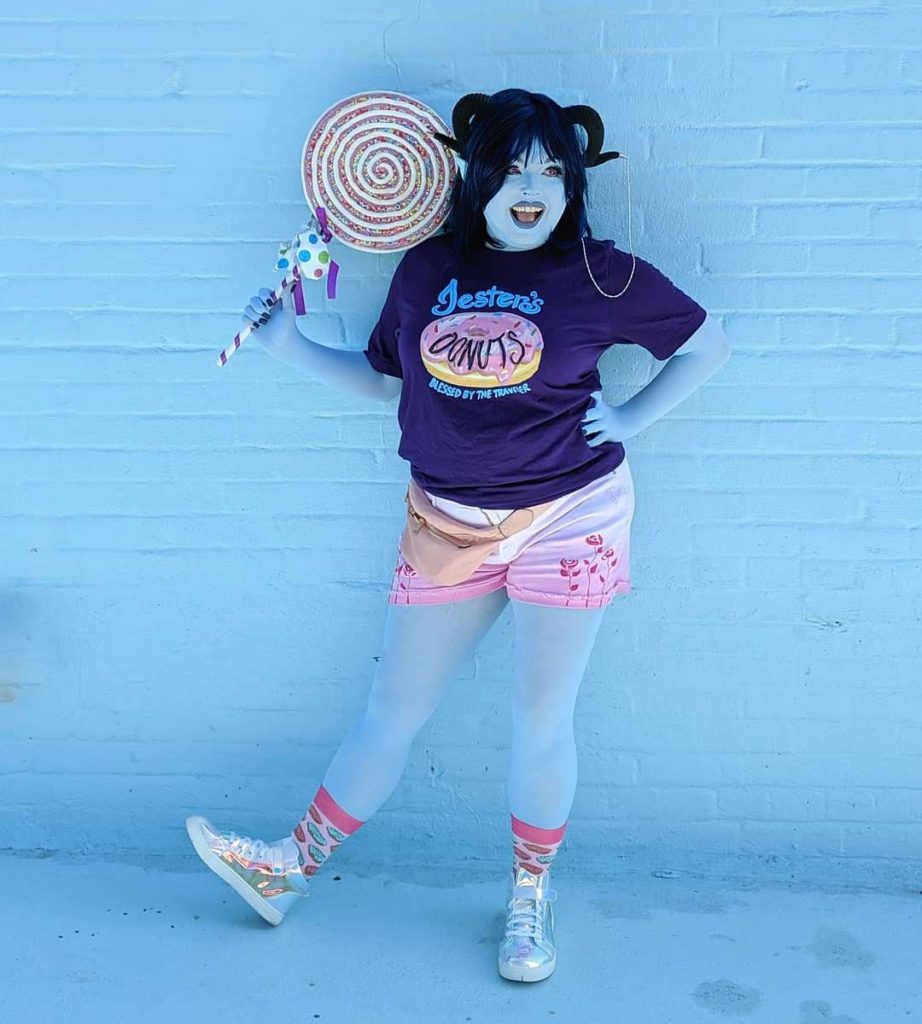
Jester LaVorre is a little blue Tiefling girl played by the amazing Laura Bailey. Her personality is adorable, and getting to dress up as her is a ton of fun. I don’t usually get into character (unless I’m trooping for the 501st or Rebel Legions) but with Jester, it just happens naturally! (What this means for my own personality I will leave up to your imagination.) But getting to be goofy, girly, and a naughty prankster are just too much fun. (If you leave me a notebook, I will draw something in it.)
Whether Jester is reading poorly written harlequin novels, eating donuts, or battling alongside her friends, she is always genuine and kind. I just love her!
This post may contain affiliate links. For more on that, check here
Supplies:
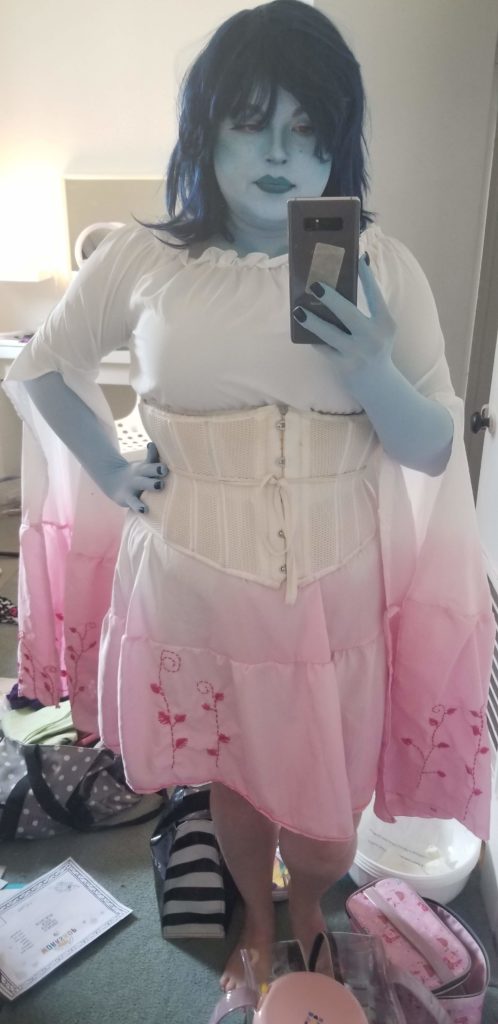
Clothing –
While this will get you all the base pieces I used for my cosplay, it won’t be the only thing you will need. I did not use any other material for the chemise except what was already there. I simply hemmed it to the length I wanted and added the extra to the sleeves. That said, if you are much taller than me, you might want to find an alternative – there was not that much to use afterward. (I’m 5’2″.)
I did not have to do any alterations to the corset. It fit great! Just make sure to check your measurements and compare. Mine was a perfect fit.
- Overbust Corset (brown wide)
- Chemise and over dress
- Tights – We Love Colors in Sky Blue
- Waist shaper (optional, but I wanted the dramatic waistline)
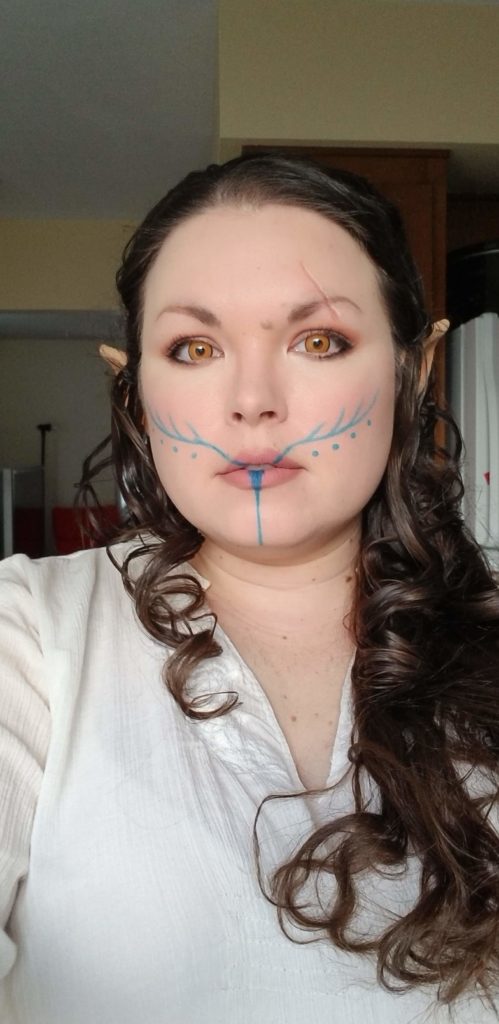
Makeup –
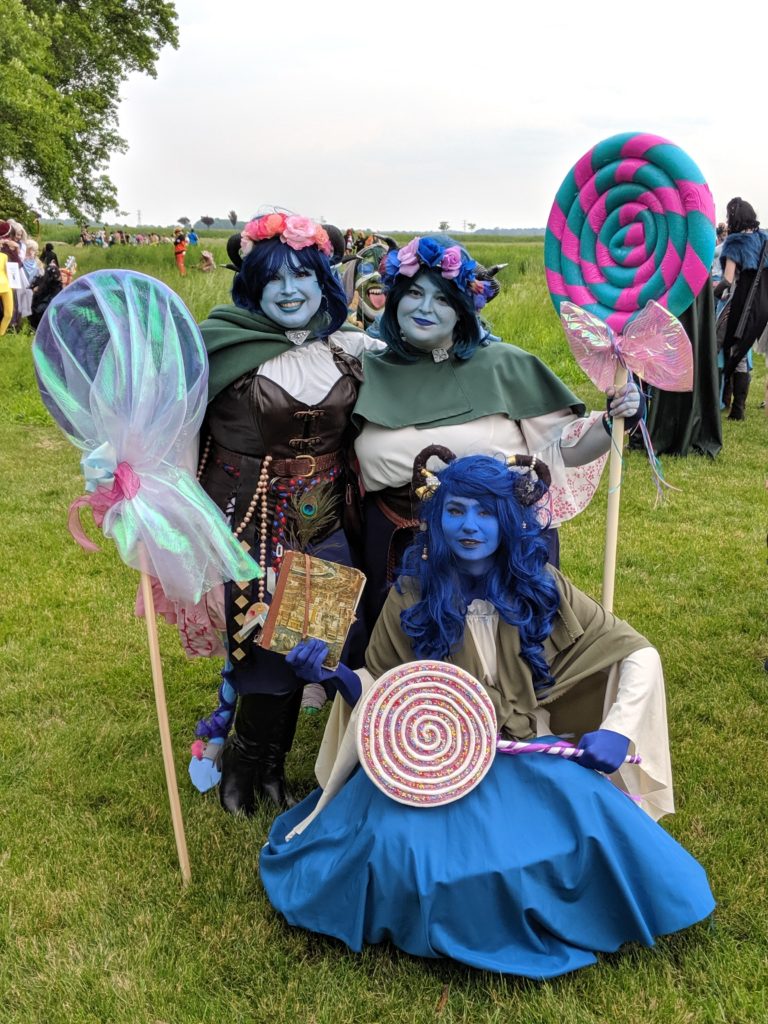
Whether you’re doing traditional Jessie or modern, the makeup is the same! Though, if you wanted to do a more festival look, with added sequins or crystals, it definitely seems like something our unicorn, candy-loving tiefling would do! So have fun with it!
- Body Paint
- Kara ES22 Palette
- Makeup sponge (avoid the cheap triangle ones if you don’t want to wish you were dead.)
- Nyx soft matte lip creme in “Moscow”
- Maybelline holographic prismatic highlighter in Purple
- Nyx eye pencil in Sunrise Blue (this is perfect for adding color to eyebrows and for doing freckles!)
Materials –
- Rit liquid dye in Petal Pink
- Joanne’s – Ball chain
- Bead cone – silver (Walmart)
- Aileen’s Jewelry Glue
- Horns (I got mine from Spirit Halloween)
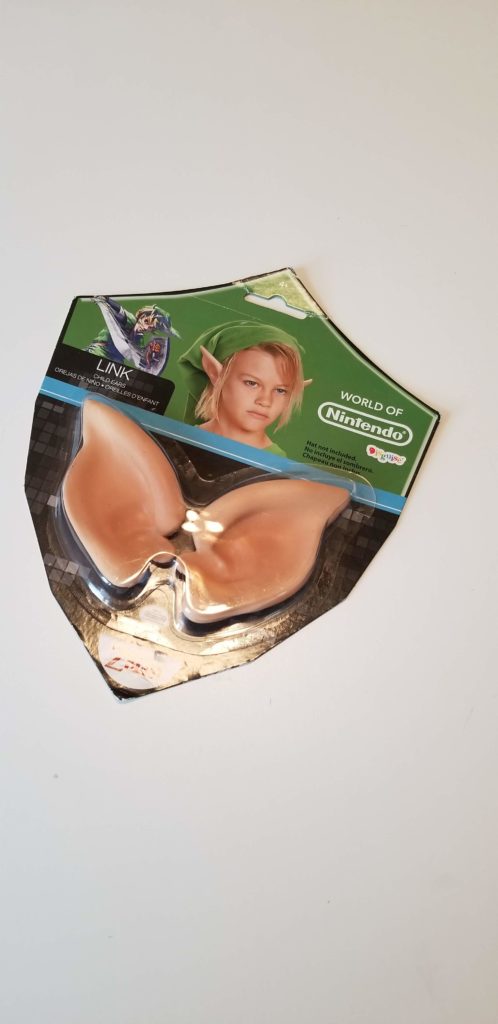
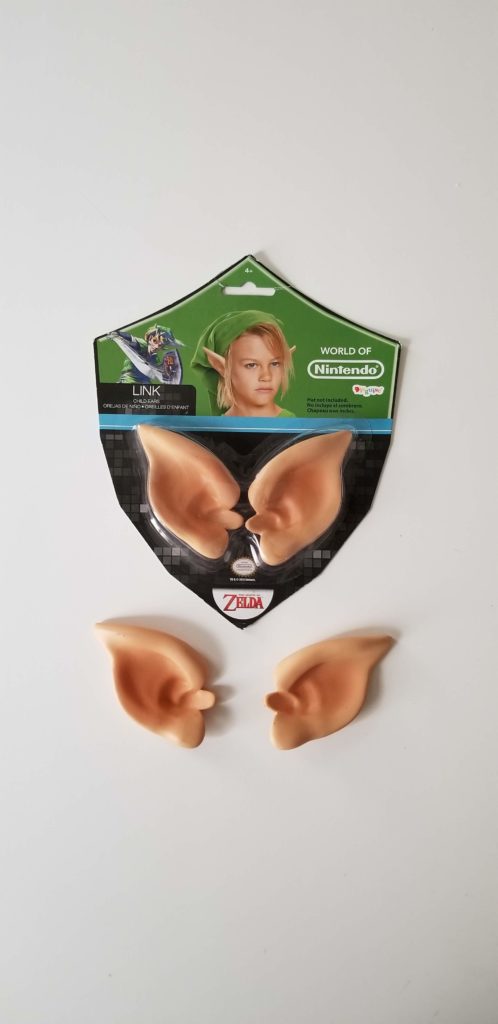
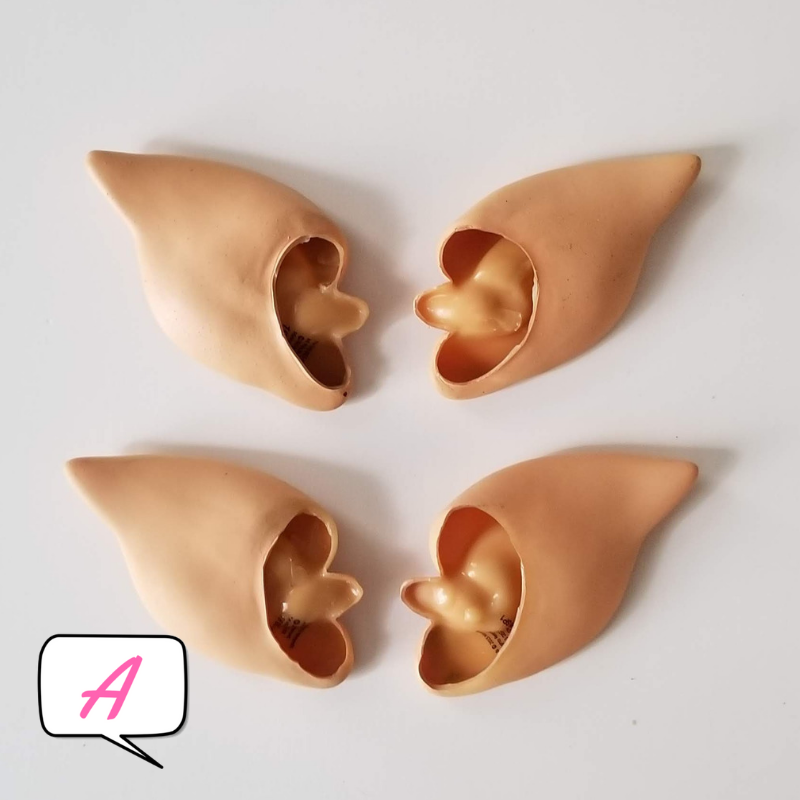
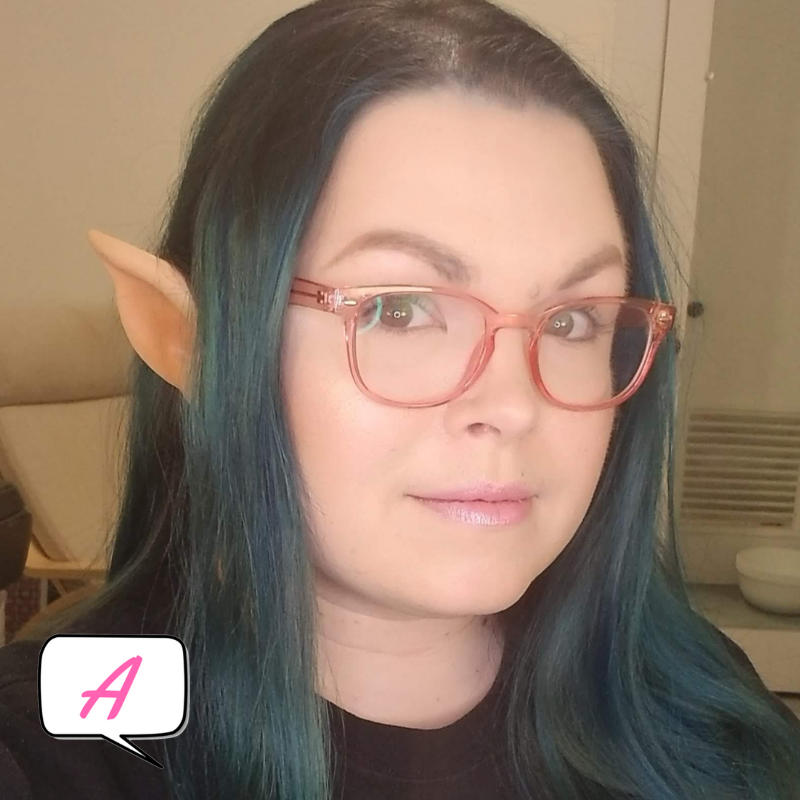
- Pointed ears – super cheap, glue free ones!
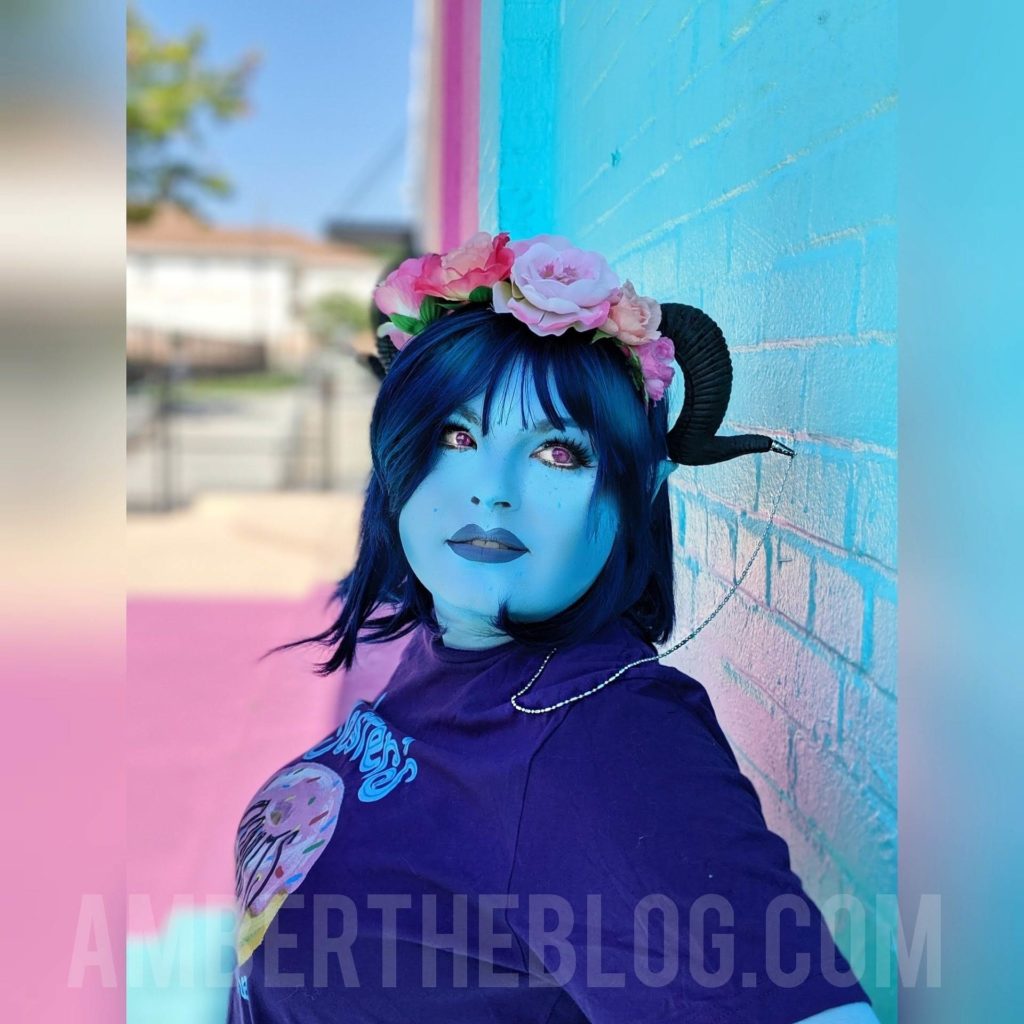
Modern Jester
Supplies:

There is a lot that is going to be added to this post. Tons more photos, tutorials, video tutorials, and so much more. So bookmark it and check back! Even though it isn’t finished, I wanted to get a list started since I had so many questions!
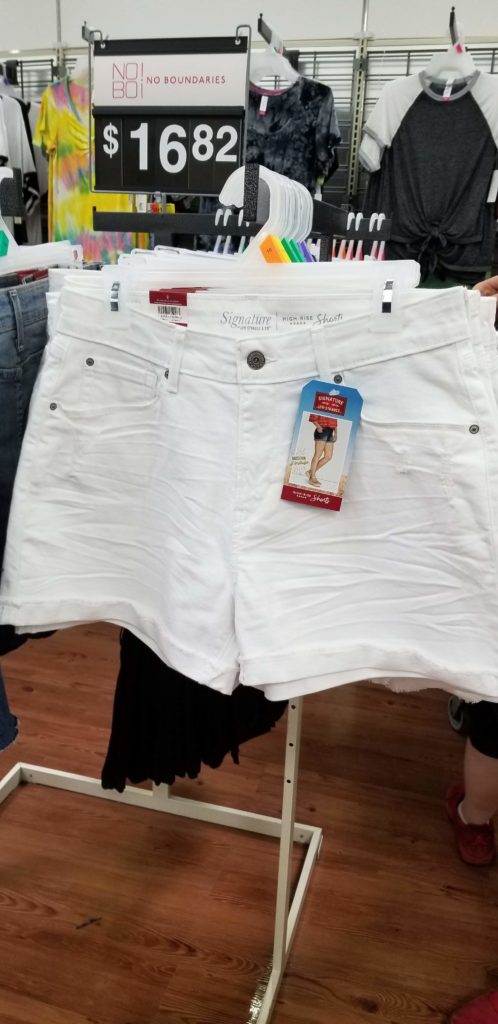
First, I purchased a pair of white Levi’s shorts (I got mine at Walmart on a whim, but you can easily purchase them online at the link, too.) Research the type of material in yours, whether it is a synthetic heavy blend (aka comfy) or mostly cotton, as that will determine which sort of dye you use.
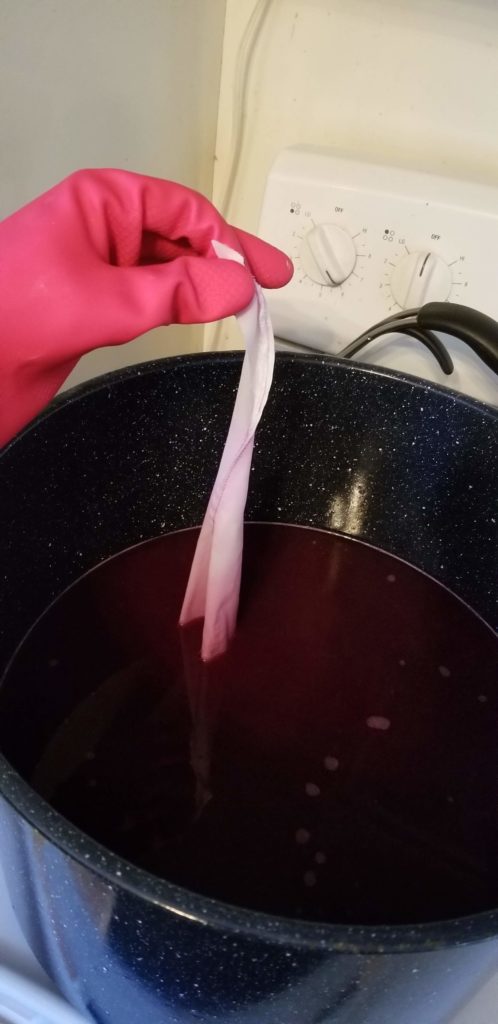
I used Rit liquid dye in Petal Pink. As is a regular habit of mine when treasure hunting for cosplays, I made a trip to Goodwill and found a big ol’ stock pot, perfect for stove top dying projects. (Most dying projects require to maintain heat for a prolonged period, meaning that dying in the tub won’t work.) I followed the directions on the dye, and but first got my shorts soaking wet. Wring them out a bit. Figure out where you’ll want your ombre to stop. Using straightpins where you want to stop dipping is really helpful!
I made one mark where I want the lightest pink to blend to white, and then another mark of pins where I wanted the darkest pink to blend into the light pink. Holding your garment from the lightest section, dip the base to be dyed into the readied dye bath up until your highest set of pins and pull it right back out. This lets the dye just touch that bit of fabric once so it stays nice and light!
Test scrap of fabric to practice dip dying. 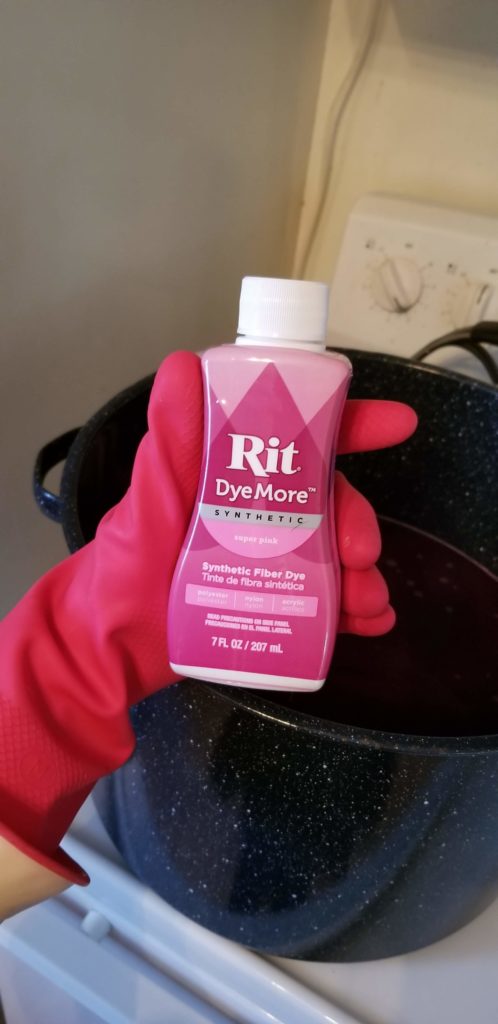
This is the pink I used for the chemise. For the shorts, I used petal pink in a formula that matched the material. Same idea, though! 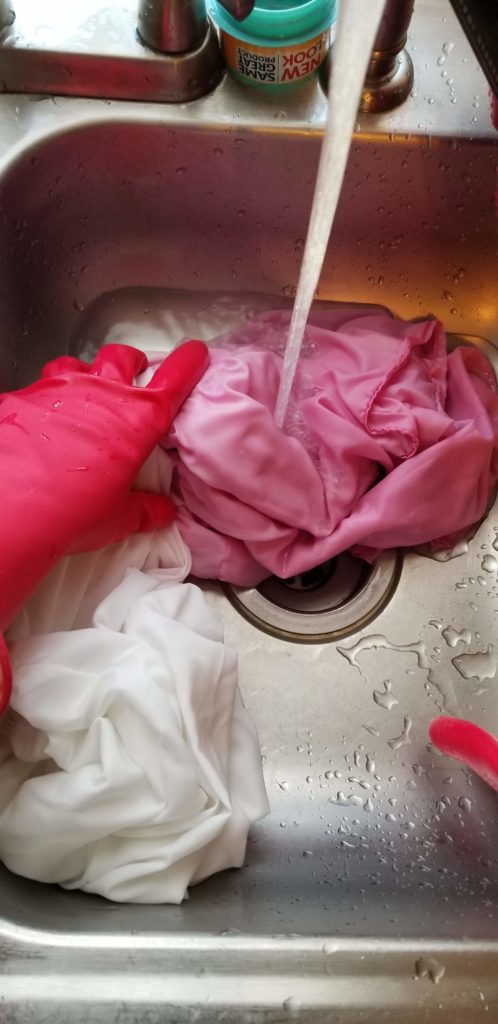
Make sure that whatever you’re dying you rinse it well when finished! 
And the dip dyed shorts after a wash and dry cycle!
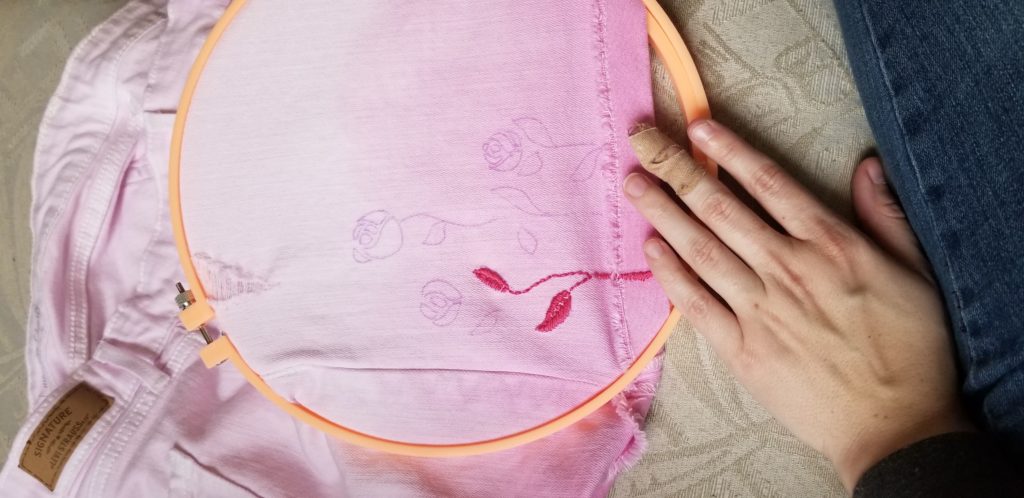
Once it was washed well and dried, I moved on to making the flowers. You could draw this on with a fabric marker, like these markers by Sharpie. I decided to embroider them! I recently got into embroidery and found that it is a hobby that I loved. For the flowers, I used DMC 601 6-strand thread. However you decide to do it, you’ll want to add a disappearing ink fabric pen. With that, you can doodle on most fabrics to sketch out your idea BEFORE making it permanent. Then it stays on long enough for you to color it in with sharpie or to embroider it.
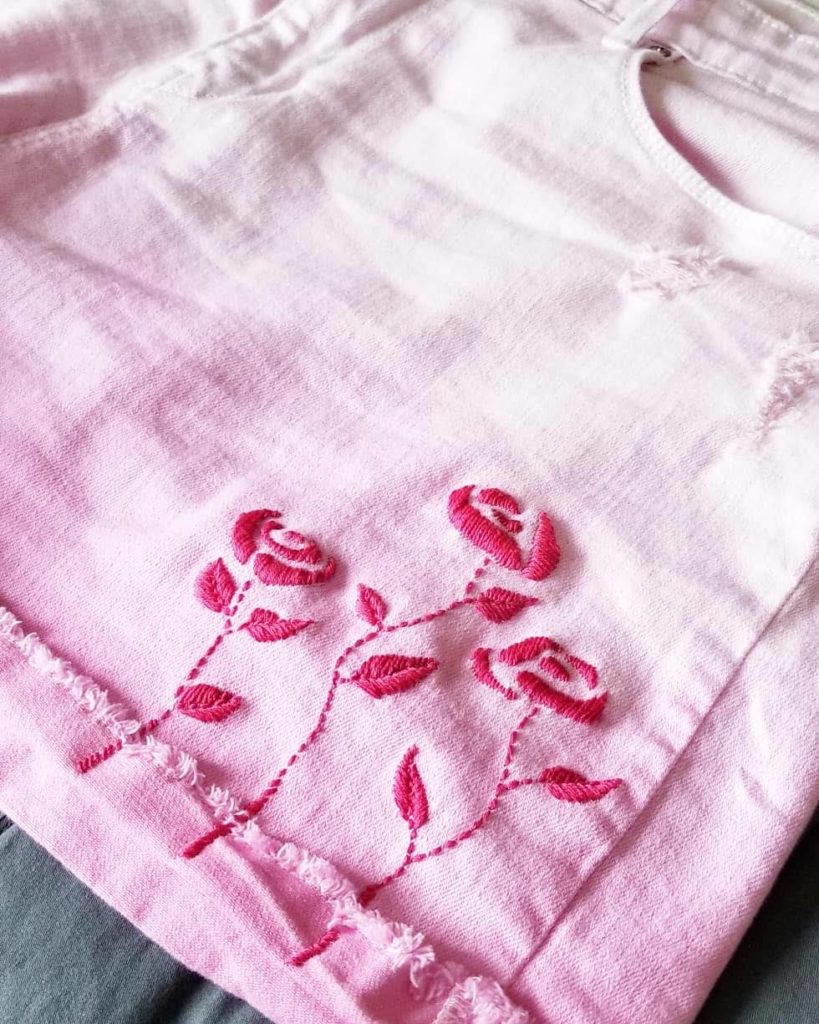
It was really a fun project! I think they are perfect for Jester, but it is also really fun to have a piece of custom clothing that I designed and crafted. If you like this design and make your own Jester-inspired shorts, I’d LOVE to see them!
This post will continue to be updated with information on how I did this cosplay, so be sure to bookmark it for future reference! In the meantime, if you have any specific questions, feel free to drop me a comment and I will answer you as soon as I can.